
Antec Fusion Remote Black
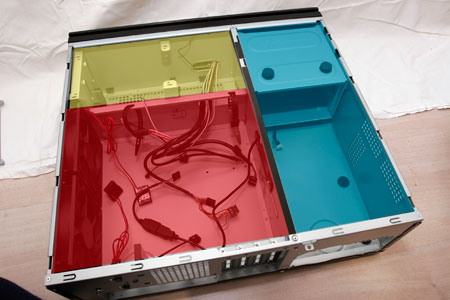
The case is divided in to three cambers (colour added to clarify). The power supply chamber(blue), motherboard chamber (red) and the HDD chamber (yellow). This triple chamber structure isolates the heat and noise within each chamber, resulting in much quieter and cooler operation than a traditional desktop case.
Lets take a look at the HDD chamber.
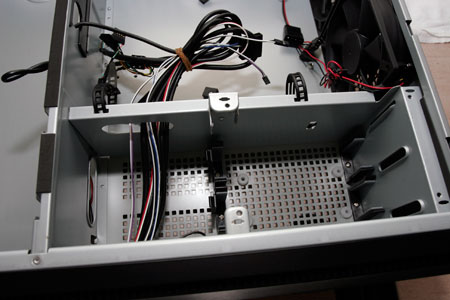
Here is the HDD chamber, room for two disk drives and on the bottom you can see the white silicone grommets.
On the left you see a small hole from the PSU chamber that allows you to draw your power connectors to your disk drives through that hole. There is another hole as well, at the top, all cables from the front panel is going through there. Right over the top hole on the left and right side there is two reusable zip ties that allow you to collect all the cables together.
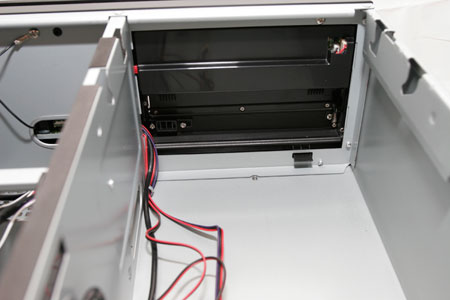
Here is the back of the LCD panel at the top and at the bottom is the door for the DVD drive.
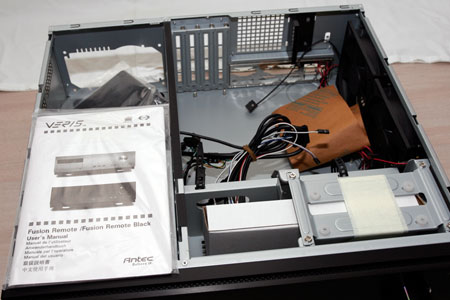
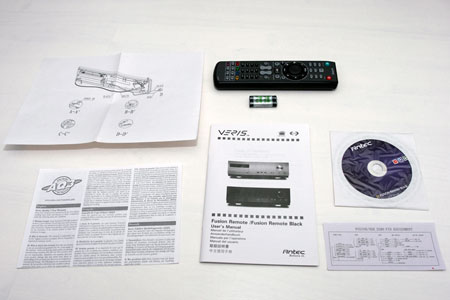
Inside the disk drive cage there’s a secured white box that contains the remote control and battery. In a small bag we find a CD with drivers for the LCD. We also find a manual and two papers that describe how to connect the front panel and at last a warranty paper.
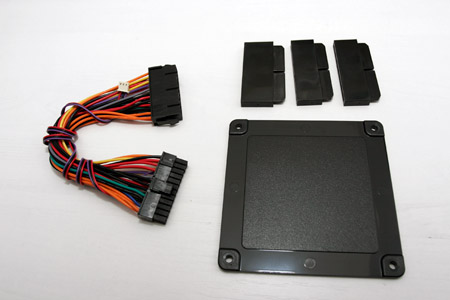
In another plastic bag we find a large black plate, it’s used for covering one of the 12cm holes in the side of the case. So if you want only one fan, then you can close one fan hole. The three things in the top of the picture are air guides, more about those later.
On the left side we have a 24 pin adapter, it have 24 pin connectors on each side and it comes with a 3-pin connector on one side, which is used to connect the 3-pin power cable from the LCD panel.
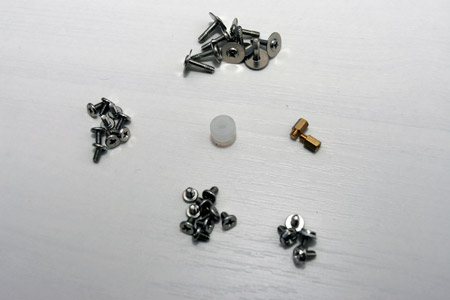
We also get some screws, standoffs and a silicone grommet which is a spare part if you loose one in the case.
Navigation
- 1. Introduction
- 2. Outside and details
- 3. On the inside
- 4. Installation
- 5. Final images & Conclusion

Christopher Fredriksson


![[H]ard|OCP, https://www.hardocp.com](https://swemod.com/uploaded/affiliates/hardocp.jpg)
![[M]adshrimps, https://www.madshrimps.be](https://swemod.com/uploaded/affiliates/madshrimps.jpg)
