
Swiftech H2O-220 Apex Ultima
The package we are having a look at today is the H2O-220 Apex Ultima from Swiftech. This package consist of the following main parts.
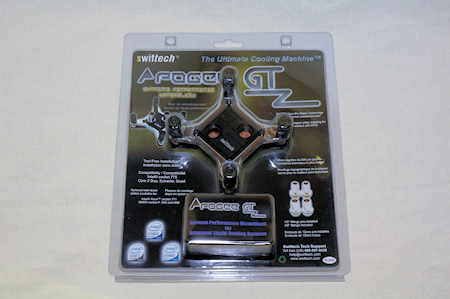
- Apogee GTZ, CPU-block
- MCR220-QP, radiator with dual 120mm fan installed
- MCP665-B, pump
- MCRES-Micro Rev 2, reservoir
Quick note; There is also a "plus" kit which features northbridge and gpu cooling blocks together with passive heat sinks for your graphics card.
The above components are accompanied by eight feet of PVC tubing, Arctic Ceramique thermal past, Hydrx coolant additive from Swiftech as well as Smartcoils 625 Blue, MCB-120 Radbox and two pairs of 5V connector cables and two pairs of 7V resistor cables, both cables are for the fans on the radiator to lower the voltage and therefore the speed and noise.
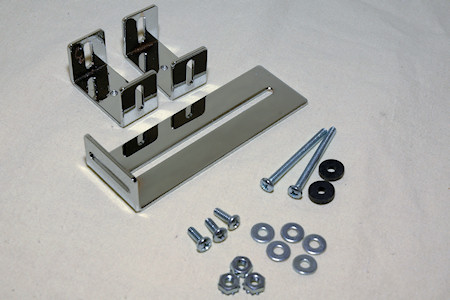
There is also lots of accessories included like tube clamps, Velcro tape, screws of all sorts and a fastening kit for the reservoir.
The CPU water block, the Apogee GTZ, was pre-fitted with a socket 775 mounting kit but we also received a Core i7 kit. Therefore we will test this kit on both socket 775 and 1366. You can also use this water block with AMD sockets, but then you need to get the socket kit for the socket you need.
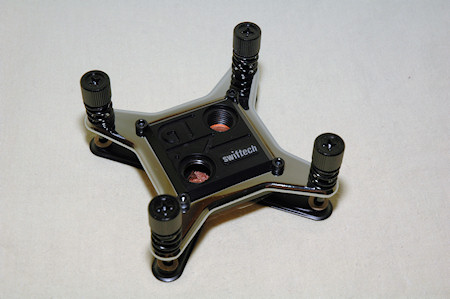
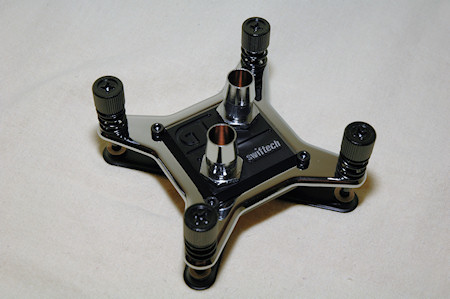
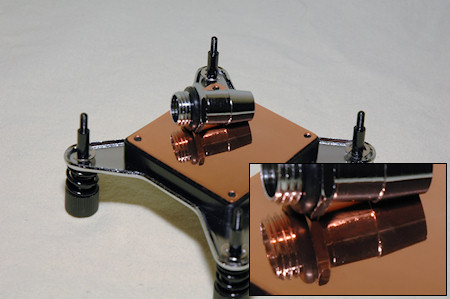
Apogee GTZ has a CNC drilled copper base with small, really small fins that transfer the heat from the CPU into the water, they are however not large enough to hinder the water pressure through the water block which is good.
On top there is a hard plastic cover where you install the barbs. They are not very close to each others so the installation of the tube clamps should be easy. Also note that this water block comes with a designated inlet and outlet, this is shown by a small drilled dot on the water block, just under the G if you take a look on the picture.
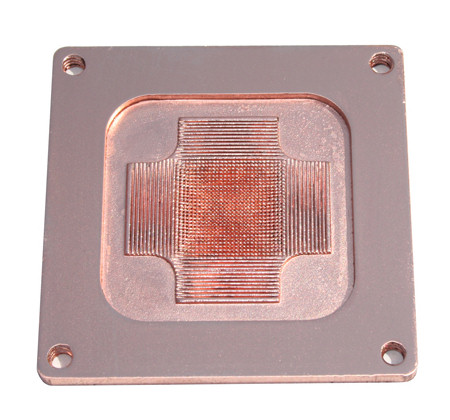
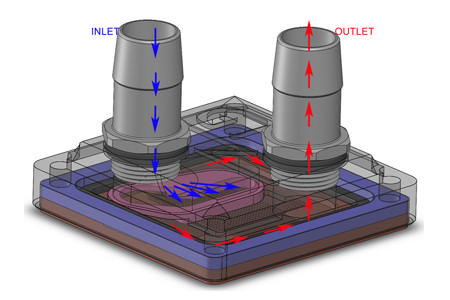
These two above pictures were taken from the Swiftech website and are copyright Swiftech.
My first water-cooling kit came from Dangerden, a competitor to Swiftech, several years ago and they used a similar mounting kit as Swiftech use for the Apogee GTZ. However Swiftech has improved and made the installation way easier than it was a few years ago.
Back with the Dangerden you had screws without caps and you had to secure it on both sides of your motherboard with nuts, then put the water block in place, put washers onto that together with springs and then use another set of nuts to secure the block in place.
Since then much has happened, there are probably still water blocks that are installed like that but Swiftech has been kind enough to develop this new kind of retention kit which reduces the steps to the following.
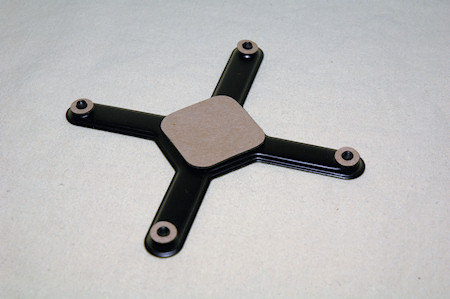
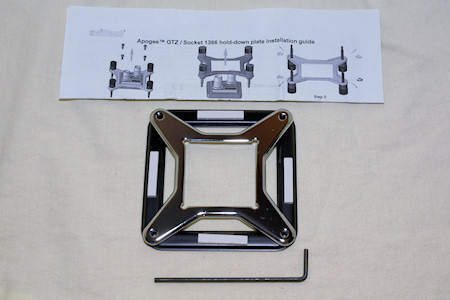
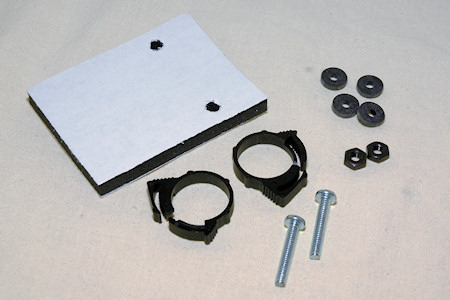
For socket 775 and 1366, put a base plate under the motherboard with insulating washers, turn the motherboard around and put the water block in place and start screwing it down with the thumbscrews. There is also a Philips head if you want to tighten it really hard, but it's not needed if you tighten it enough with your fingers.
From taking 10 minutes, to just 2-3 minutes. Well done Swiftech!
Ok, I might be a little bit outdated on the installation kits as I haven't used water cooling since 2004-2005. But that's my story about water cooling however ;)
Flipping the water block over we see the beautiful copper base, with a very smooth mirror finish. This will increase the heat transfer from the CPU to the water, much more than if the base had dents, scratches or CNC drill circles all over the base.
Furthermore we have the pump. This pump is named "MCP665-B" and is, at the time of this review, the most powerful pump Swiftech offers. It operates at 12V with a 12V Molex power connector. It draws 2 Amps and generates 24W, it is brushless which should make the pump quiet. Its working temperature range is between 0 and 60 degrees Celsius.
Finally it can pump 1200 liters per hour, which translates to 20 liters per minute. Back in the day I had an Eheim pump, capable of just half that figure.
Comparing to the aquarium Eheim pump I used this pump looks more sturdy and unbreakable with built-in in- and outlets into the molded outer case of the pump. This is my first encounter with this pump and just by the feel and looks this pump must be a beast and we'll see more off that on next page.
As mentioned the pump is connected with a 12V Molex connector, but there is also a blue wire connected to a 3-pin fan connector. This is however not used for controlling the speed but to read the speed of the pump, if you have a fan controller with a built-in display to show the figures, or if you want you can connect it to your motherboard to read the values through software in your operating system.
Next part in the package is the reservoir.
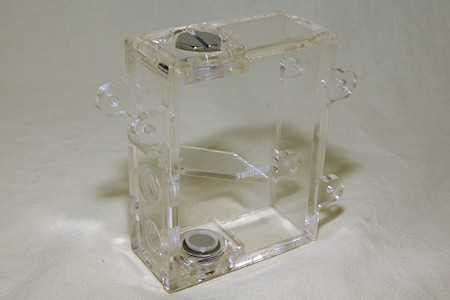
This reservoir is named "MCRES-Micro Rev 2" and as the name says this is Revision 2 of the reservoir. The main difference to the earlier version is the bottom outlet port which can be used to connect the reservoir to the pump for example.
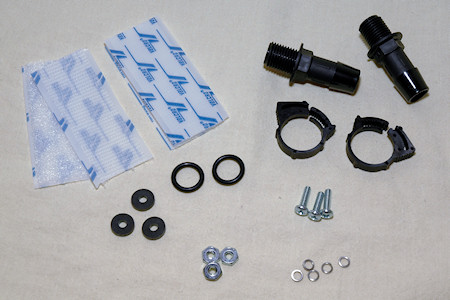
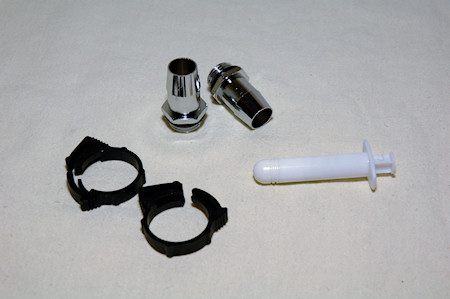
We find a filling port on the top of the reservoir and two ports on the side. One of these ports should be used as an inlet port and the other can either be used as an outlet port if you're for example is short on space or it can be locked when you use the bottom port, which I would recommend.
The plastic part inside the reservoir is there to help kill the vortexes from the inlet, at the same time as it helps reducing the addition of air bubbles when refilling the reservoir from the fill port up top.
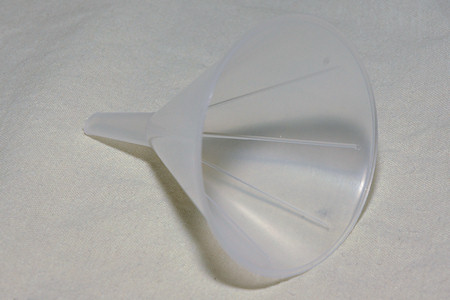
Also to help filling the system a filler has been included, not really needed but very nice indeed that Swiftech has thought of that!
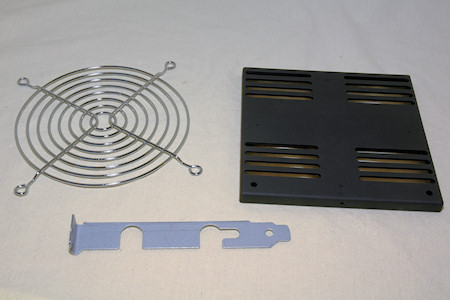
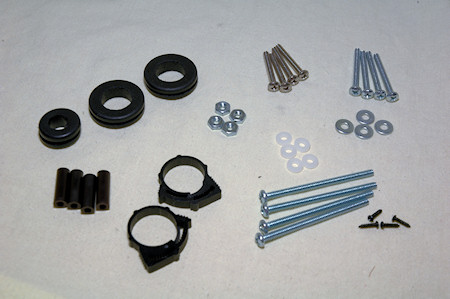
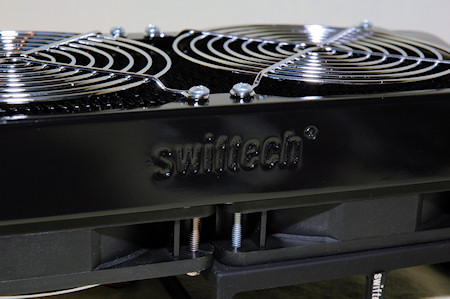
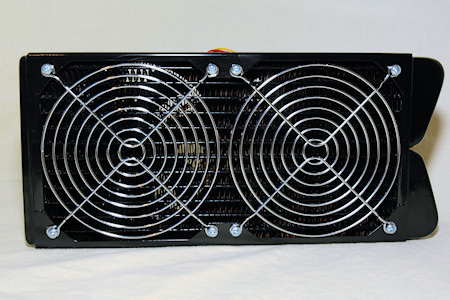
Last thing in our package is the radiator and it's name is "MCR220-QP". The number 220 in the name shows the size of the radiator and this radiator has the space for 2x 120mm fans on each side. More than two fans installed is however not needed if you're not after some hardcore overpressure going through the radiator.
Two fans are installed already, all black and running with none to low amount of noise on low speed (5V) and a bit noisy on 12V. Somewhere in between, around 7V really is recommended for a balance between noise and performance. We'll see more on that on next page when we test the kit.
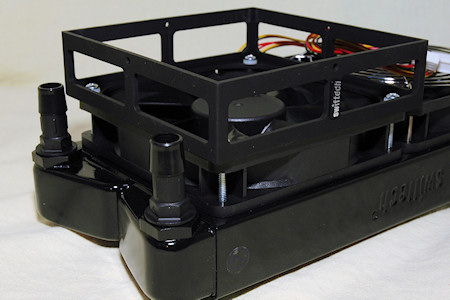
This radiator comes with a "rad-box" which is fitted onto the radiator already when it arrives in the package. This "rad-box" makes it possible to mount your radiator on the outside of your computer case which is perfect for computer cases that have those pre-made holes for water-cooling where you can run your tubes through.
You can also remove the rad-box and install the radiator for example in the top of your case on some cases, like the CM Storm Sniper.
Something a bit more interesting about the radiators from Swiftech is that you can fit another radiator onto the one that comes with the kit. For this kit the radiator you should be looking for is the " MCR220-QP-STACK".
We've covered this earlier in the news and this seems like a good way to add cooling capability to an existing system. Especially if you would like to cool your high-end graphics card together with your CPU, even more so if you have several graphic cards and perhaps an hdd cooler. All in all, if you have several components that you want to cool with water-cooling it is better to either have a very large radiator with good cooling or use these new add-on radiators from Swiftech.
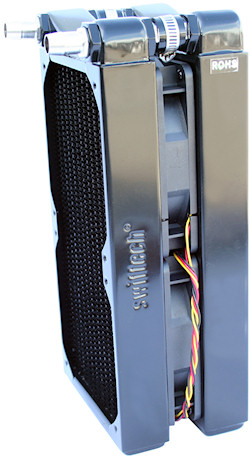
Picture above were taken from the Swiftech website and are copyright Swiftech.
Product link for the radiator, with information about the stack version.
http://www.swiftnets.com/products/MCR220-QP.asp
After the walk-through of the components I must say that I believe we have a kit that may perform very well. The components has been chosen carefully to not give the users some standard average performing pieces, most if not all the things included in this package feels solid and unbreakable.
For example the thought of using only copper in the package for cooling components is great, no risk for corrosion between different metals. The radiator as far as I know is always made out of copper, which you also can see if you accidentally scrape off some of the black paint.
The water cooling block is made out of copper and plastic and the reservoir and pump is all plastic. The tubes we get with the kit is also thicker than many I've seen, even if you can buy your own in any hardware store to replace the ones that comes with any kit of your choice.
Thanks to the coils that comes with the kit you can also bend the tubes pretty much without making them collapse which is great. I've always wondered how those worked and were skeptical until I had the chance to test them out myself.
So now it will be very fun to test the kit on both the Intel 775 and the Intel 1366 sockets to see how it performs.

Christopher Fredriksson




![[H]ard|OCP, https://www.hardocp.com](https://swemod.com/uploaded/affiliates/hardocp.jpg)
![[M]adshrimps, https://www.madshrimps.be](https://swemod.com/uploaded/affiliates/madshrimps.jpg)
