
Shuttle H7 7800H
Starting out with the package which has a black background with blue details printed onto it, stickers on the side with information and a handle on top to carry it around. Opening up the package doesn’t reveals a lot, but very sturdy packaging together with a cloth like bag to protect the computer case from being scratched during transport.
We also find the manual with quick installation instructions, a box with a HDMI to DVI adapter, IDE cable, WiFi antenna, power cable, screws and two cone-formed feets. An IR-receiver is also included with an USB connector and last but really not the least a remote control with Shuttle’s XPC logo on it.
There is also included a recovery disc and also a CD with drivers.
The barebone is named SN78SH7 but the actual computer case is a H7 type chassis, as you can see in the end of the barebone name.
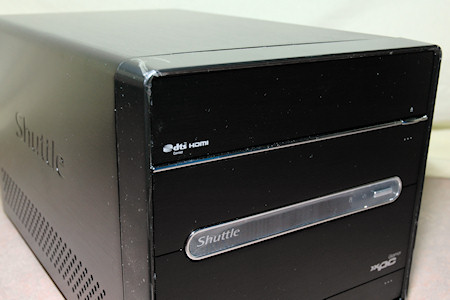
The H7 itself has a very stylish and clean design with chrome details. The whole case is covered with metal, the cover that goes around the sides and top is one solid piece while the front is divided up into smaller parts all with a brushed metal finish.
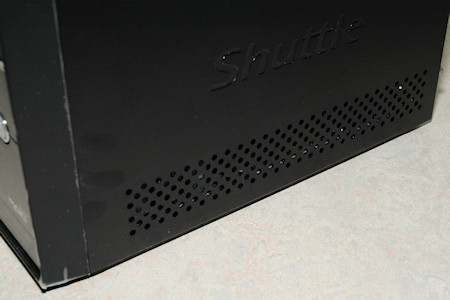
On both sides of the case we find the Shuttle logo stylishly placed into the metal finish and just below we find lots of holes used for ventilation.
In the front of the case we find the Shuttle logo as well together with their Glamor XPC and also the DTS and HDMI logos.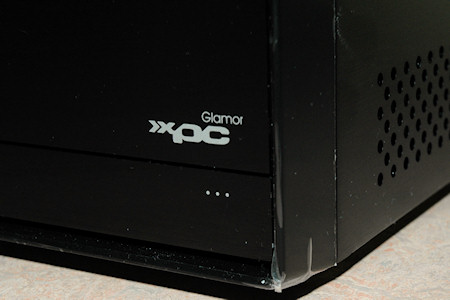
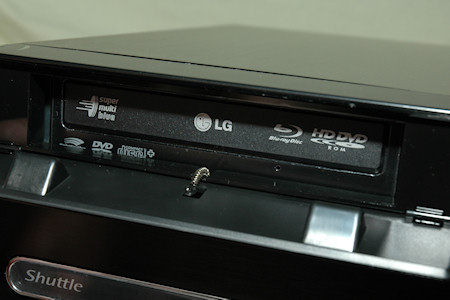
At the top we find one door which hides the optical drive. Our barebone was fitted with a HD-DVD / Blu-ray drive. This door opens up when you open your optical drive and springs back when the drive tray is closed.
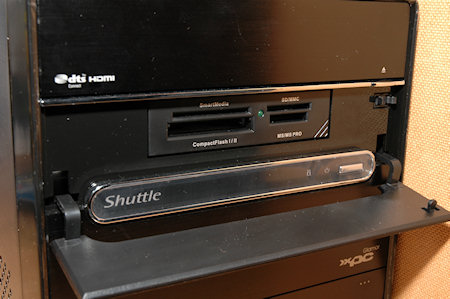
Just under we find the 3.5 inch bay which was fitted with a cardreader which can easily be used with a memory card from your digital camera for fast and easy viewing of your images and perhaps videos on a tv-screen.
Below we find the middlebar which houses the powerbutton and the power led together with an activity led. However if you need to quickly reboot your system if it would hang you need to open up the hatch at the bottom.
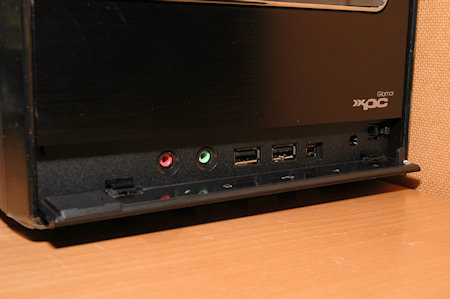
Behind this door we find headphone and mic connections together with two USB ports and one 1394 port, just right of these we find the reboot button.
Turning the case around to have a look on the back reveals a lot of different parts in a small space.
We see that the cover is secured in place with three thumbscrews, the same goes for the cooler which is held in place from the outside. Furthermore we see the power connector to the power supply, two expansion slots with one already taken by a TV card.
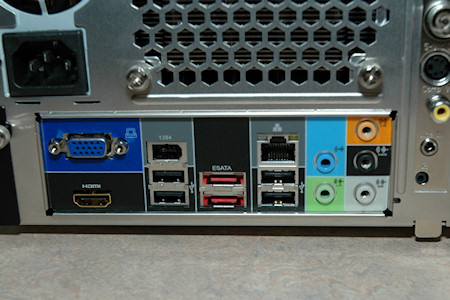
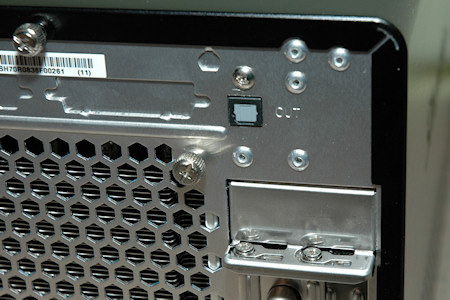
The IO shield sports the following connectors; VGA, HDMI, four USB ports, one 1394 firewire port, two e-sata ports, one RJ45 port and lastly some audio ports. At the top of the case we also find an optical audio out.
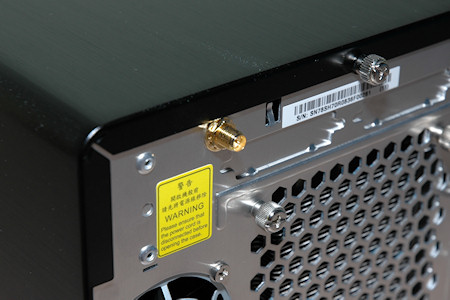
As this case is fitted with a WiFi chip there is also a connector for a WiFi antenna that is installed in the above picture.
We also find the two expansion slots;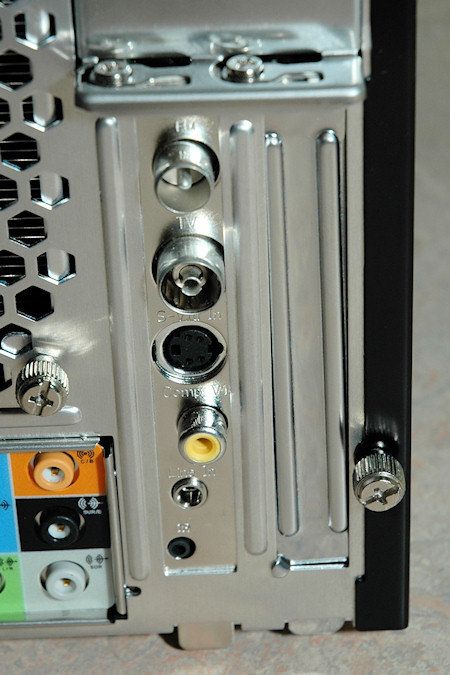
On next page we’ll take a look on the inside.

Christopher Fredriksson







![[H]ard|OCP, https://www.hardocp.com](https://swemod.com/uploaded/affiliates/hardocp.jpg)
![[M]adshrimps, https://www.madshrimps.be](https://swemod.com/uploaded/affiliates/madshrimps.jpg)
