Antec P182
Two thumbscrews are between us and the inside, so unscrew them in the back and open up the left side door.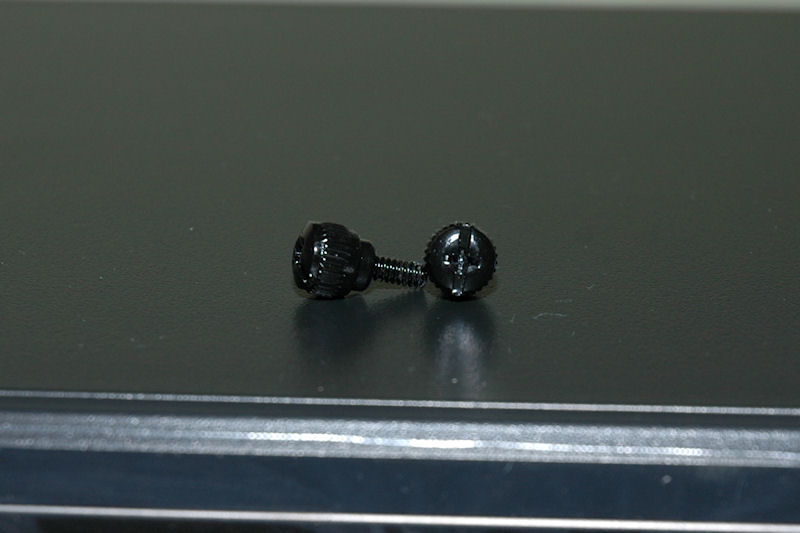
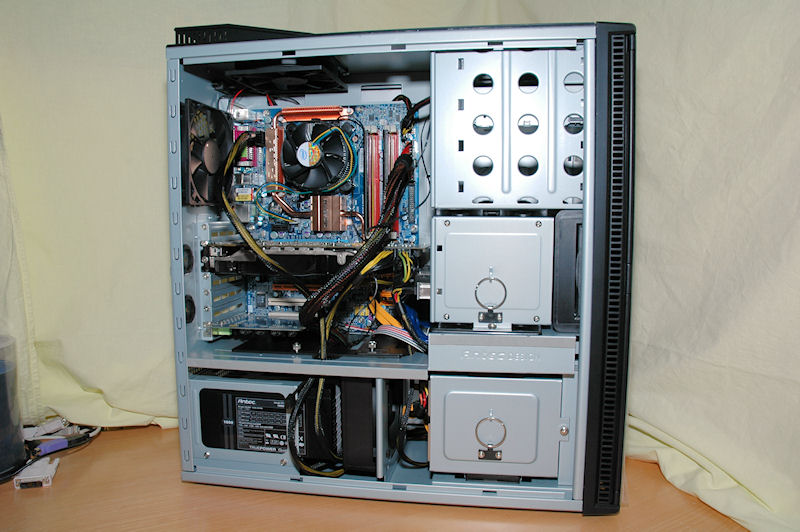
When we open up the case we find out that the power supply unit is places in a separate compartment in the bottom accompanied with the bottom hard drive cage and a fan in between.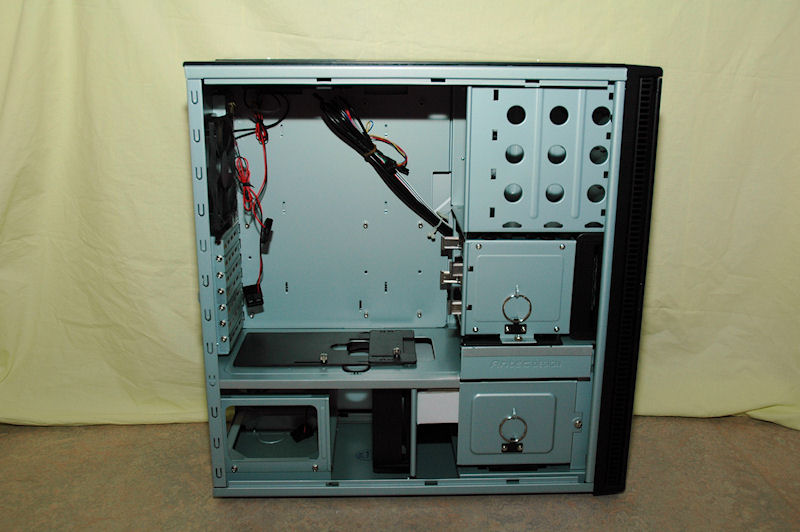
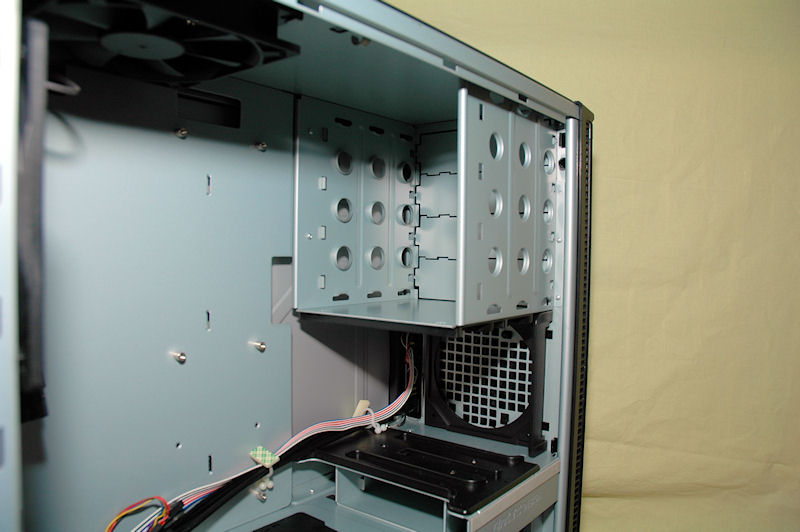
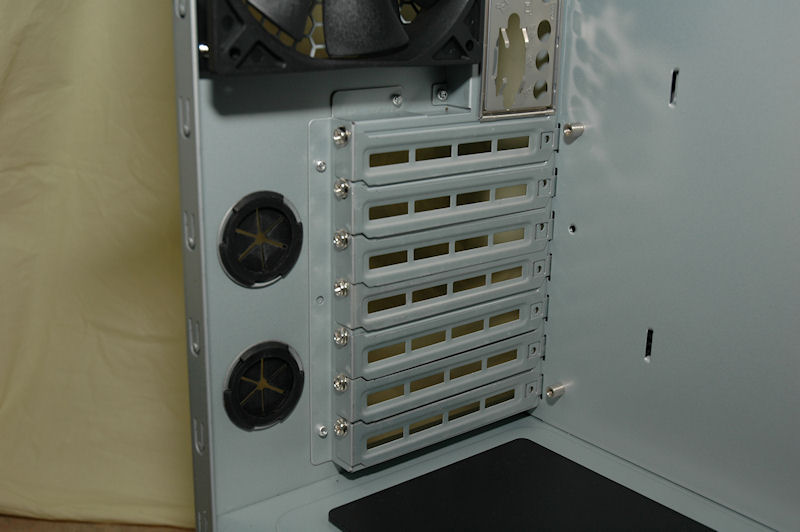
Over the bottom drive cage you have the middle disk drive cage and just in between these two you have the single 3.5 inch external bay. You can also find the Antec Design logo here together with rubber strips which will lower the vibration between the chassi and the case doors.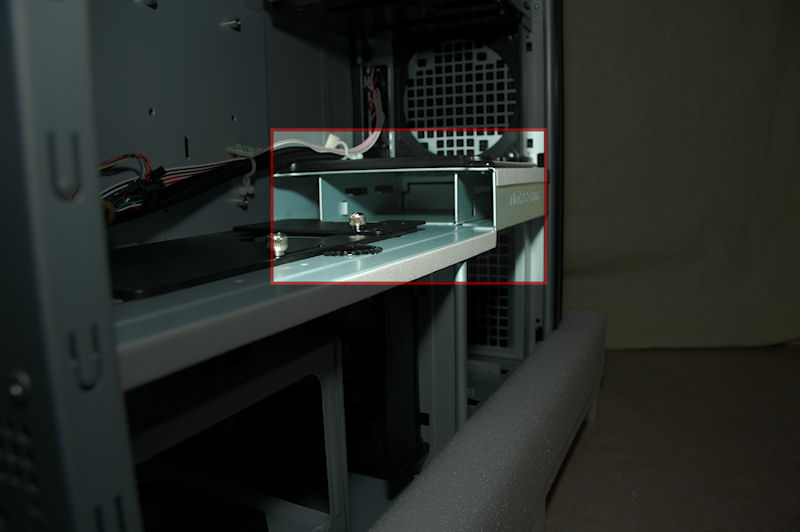
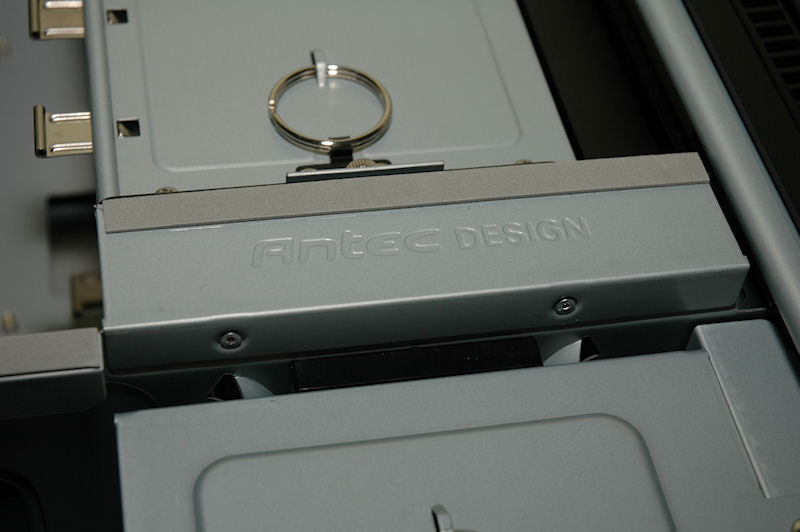
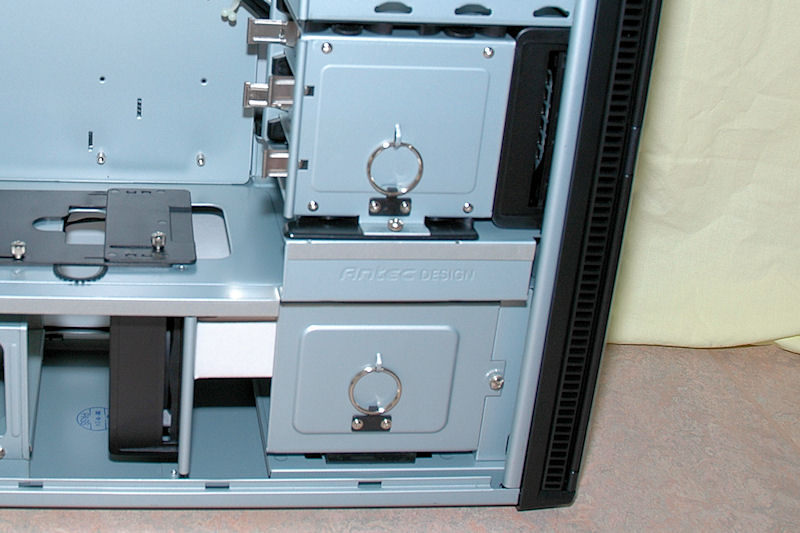
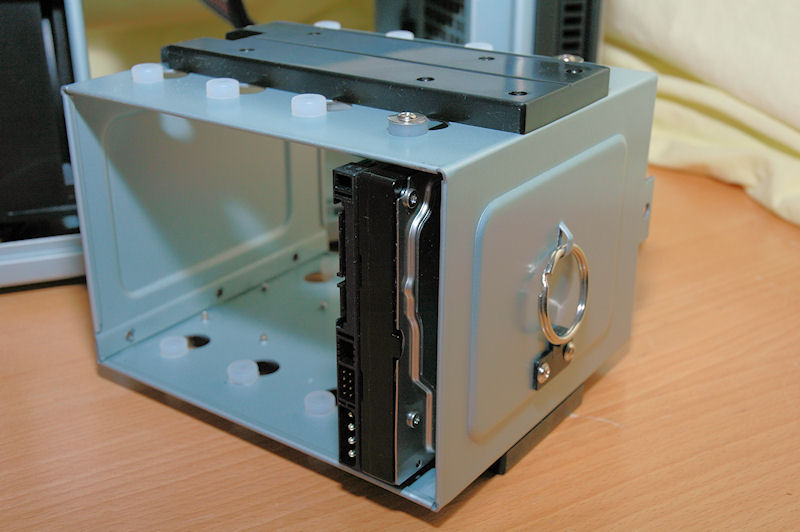
Both drive cages are secured with thumbscrews, after that unloose the rings and drag the cages out to easily install your drives. 5.25 drives still need to be installed through the front panel.
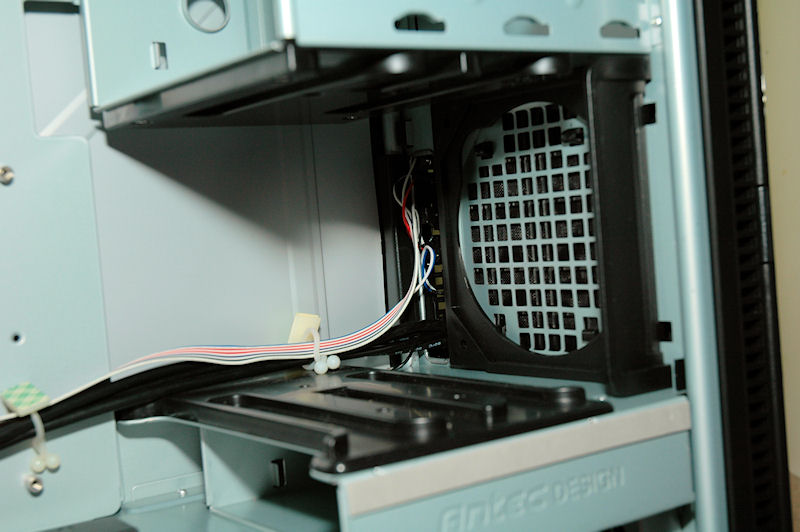
Over the PSU we find a black “door” which you can take your PSU cables through to your motherboard, disk drives and other peripherals. This door is movable so that you can hide all holes and seal off the bottom compartment.
If you seal it off fully the bottom chamber will become a wind tunnel with the fan in the middle. This will probably help cool your disk drives better and also the PSU.
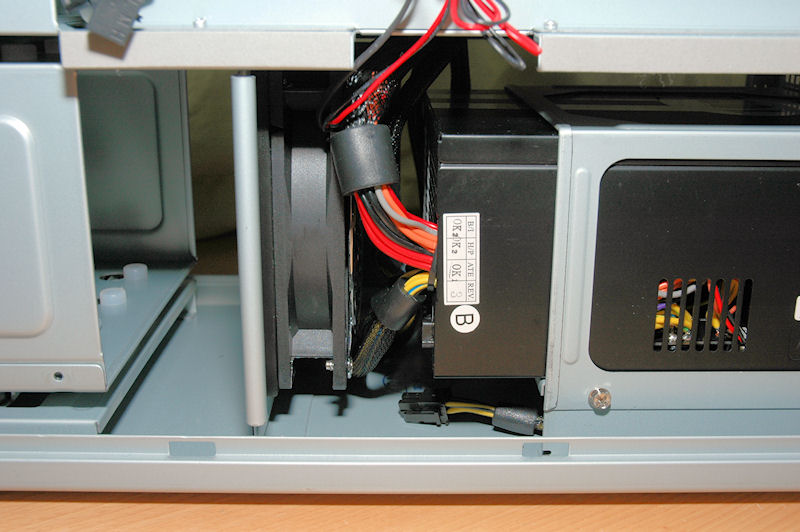
When installing a high-end PSU in the case you might stumble upon more than a few problems. For example I installed the 1000W power supply that Antec made. It is so long that the cables interfere with the fan that is installed there.
If you don’t want the fan placed there and perhaps mod one into the front of the case instead, then you probably will be able to remove this fan to get some more space.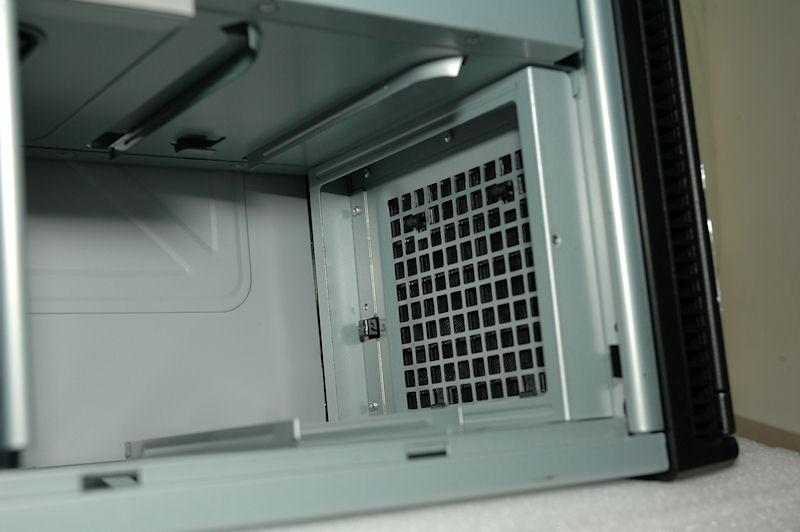
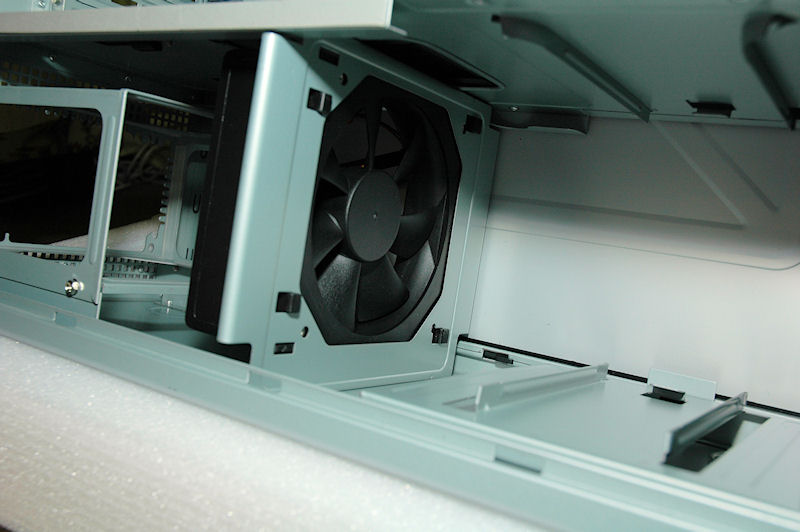
One negative thought about the fan here, there are no fan guards at all so if you don’t install one yourself the cables from your PSU or the ones from your disk drives will probably interfere and stop your fan.
I installed one myself to be on the safe side.
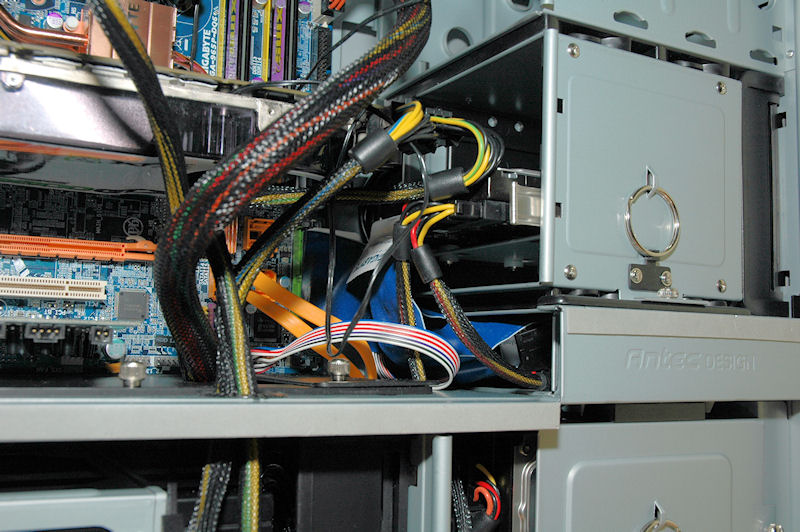
Good cable management in this case is pretty hard as there are often thick cable groups that go together, for example the 24pin ATX cable.
Also, this case is probably not that much future proof as you doesn’t have much space between the middle drive cage and your graphics card. For example, you can’t use the upper slot in your drive cage as the graphics card extends that fan out.
This is the case with our GeForce 8800GTX card, this might not be the case with other low-end graphics cards available.
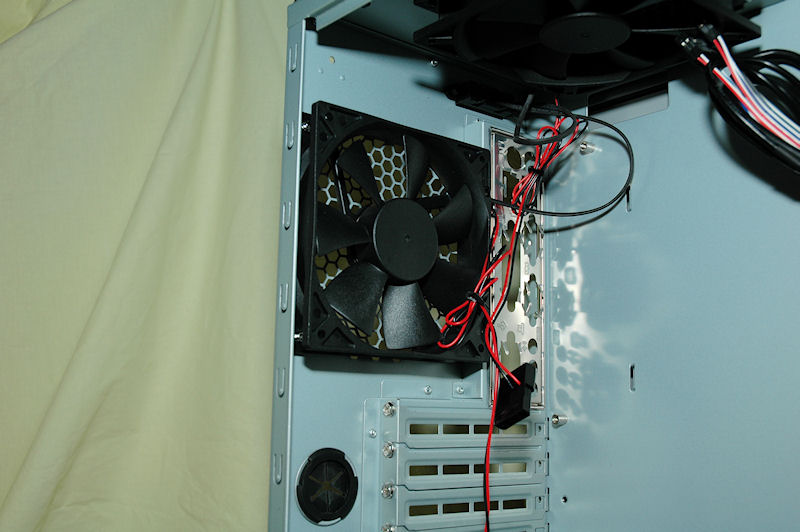
In the upper corner in the back you find the inside of the fan regulator for the two fans, they didn’t give us much of a cable management here either, but you can easily fix that by re-routing the cables through the hole in the motherboard tray.
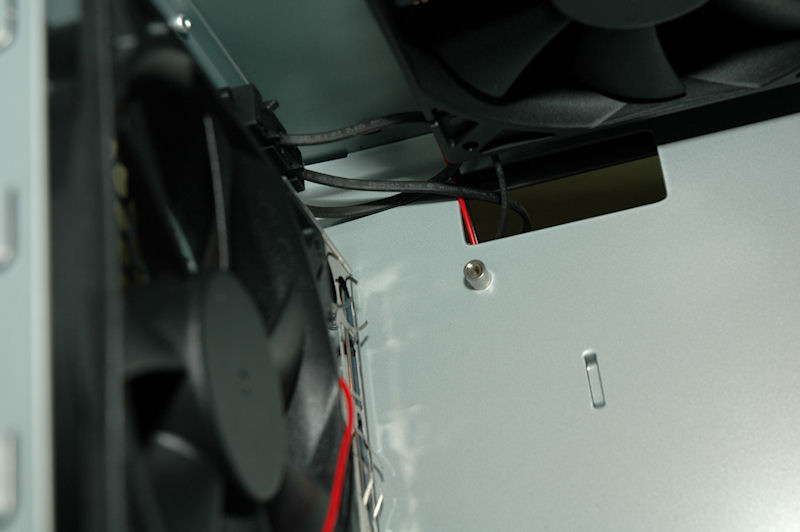
The right side of the case offers some cable management ties and space to route your cables.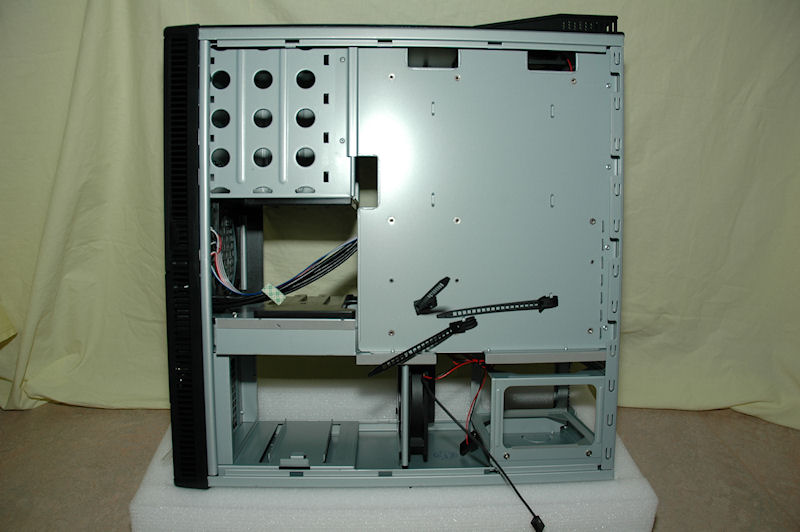
All in all, the installation was a real pain in this case as we use some of the latest high-tech equipment in our case.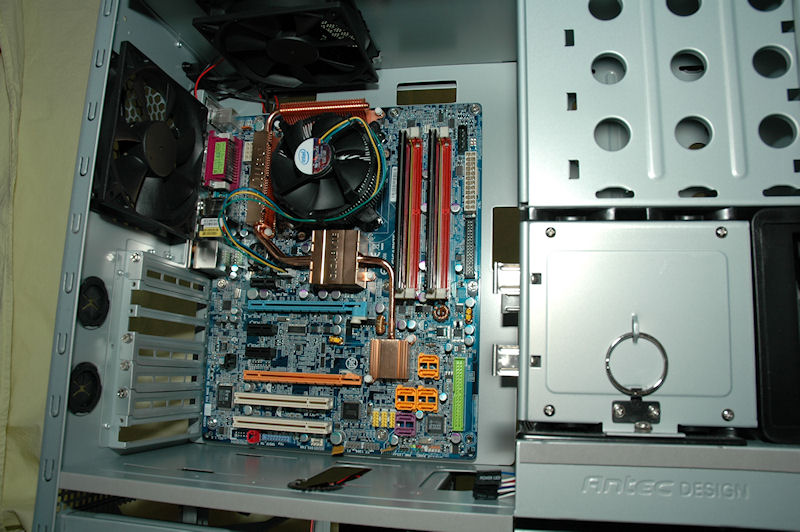
On next page we’ll take a look at the conclusion.

Christopher Fredriksson


![[H]ard|OCP, https://www.hardocp.com](https://swemod.com/uploaded/affiliates/hardocp.jpg)
![[M]adshrimps, https://www.madshrimps.be](https://swemod.com/uploaded/affiliates/madshrimps.jpg)