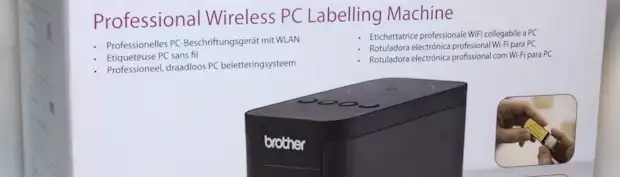
Brother P-touch P750W
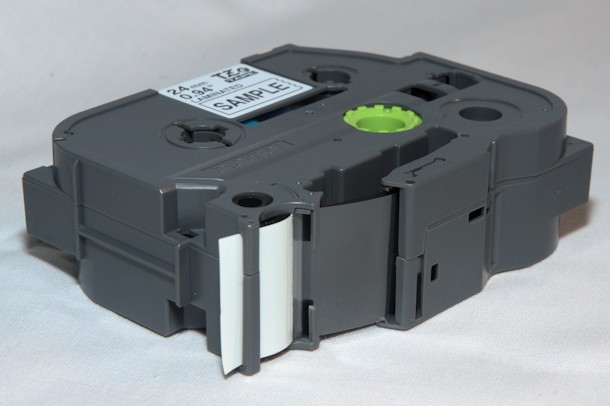
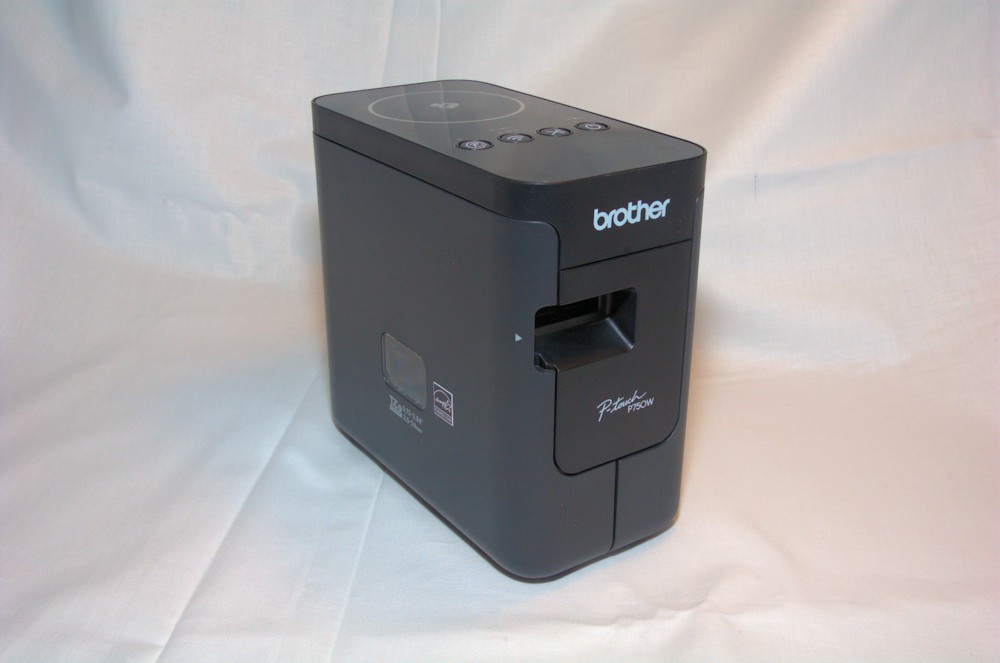
The Brother P-Touch P750W label printer is the first of its kind that we test on our site. I have previously used Brother label makers and installing the tape cassette is as easy on this unit as on their previous products. The TZe tapes are also compatible with most other label makers from Brother which is great if you have more than one label maker from the same manufacturer.
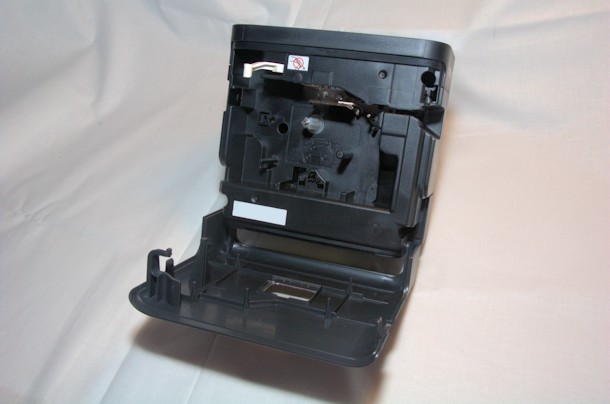
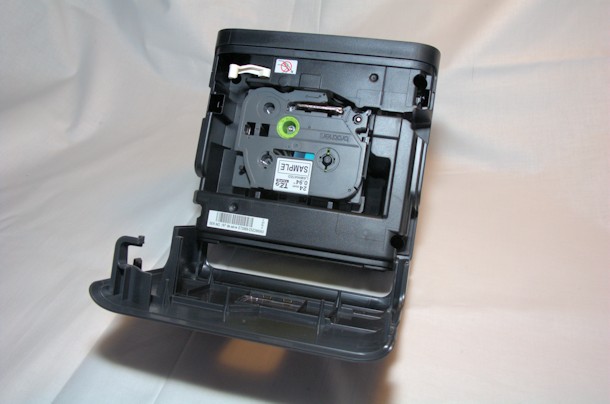
It is as simple as opening up the left side of the unit, unpacking a tape, insert it the correct way and closing the door again. Be careful of the white lever, do not touch it with your hand/fingers/anything else as that is forbidden. I certainly don’t know why, but let’s stick to that :)

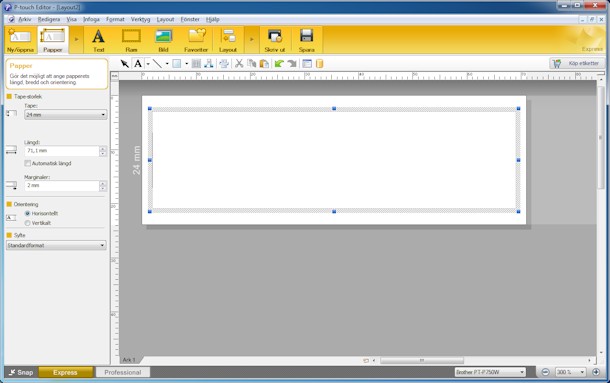
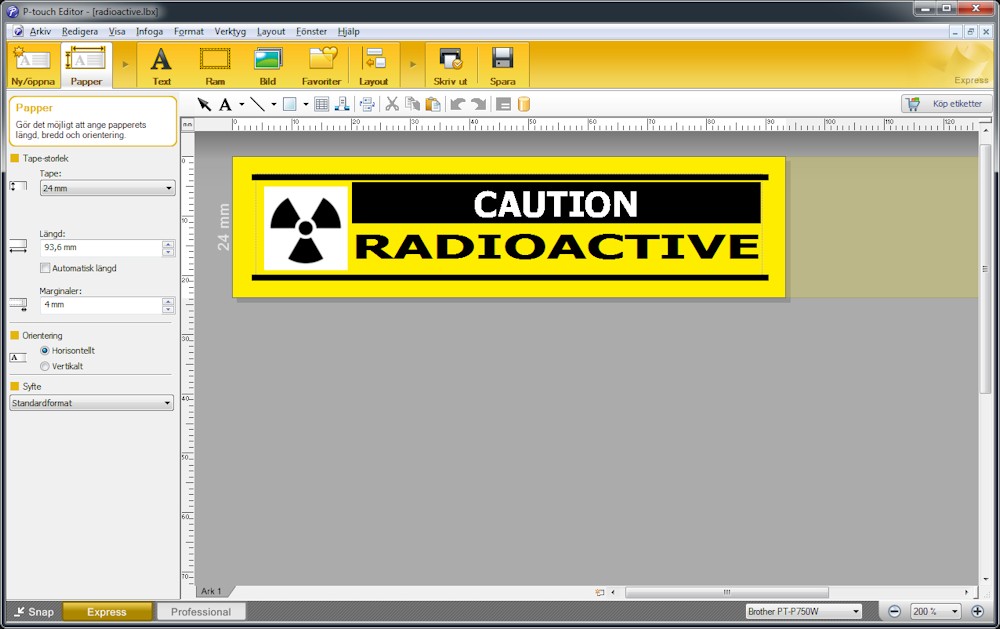
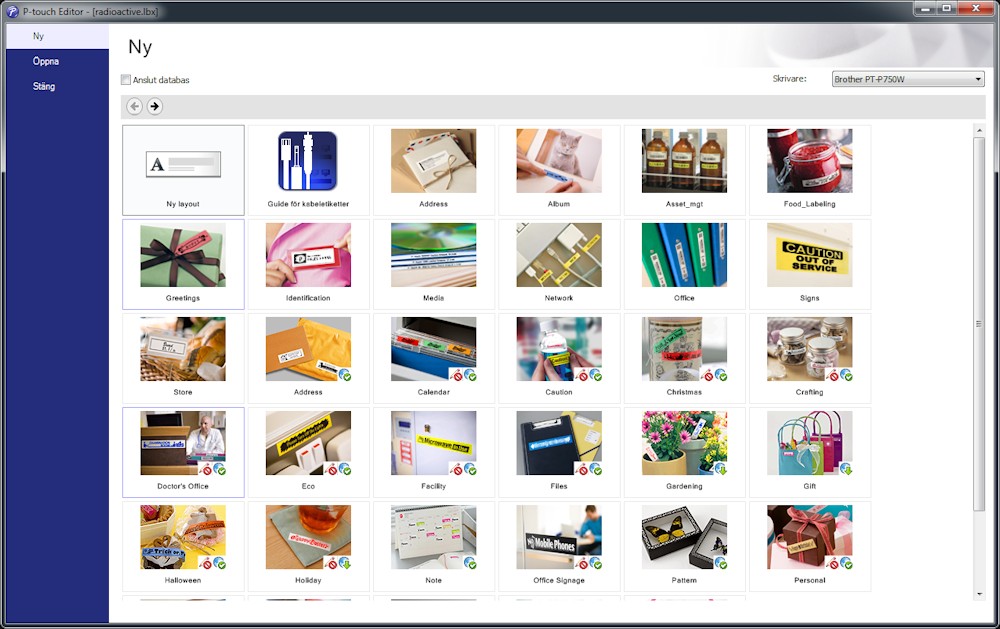
When we’ve done that and turned on the machine, the software is very self-explanationary and it looks very good. The printer can be fully configured through the software and you can change every single little thing about how you want your labels to print.
Sideways – horizontal or vertical, upside down and backwards. Do you want some text in the vertical fashion and some in horizontal? No worries! You can have bold and narrow text on the same label as well as several lines with as small text as 5 points.


Do you want to print pictures? No worries either! You can print frames, pictures, symbols, clip-art, text of all sorts. You can even choose any font that you have on your computer. So if you’ve bought some special font that you would love to use on your labels, go ahead!
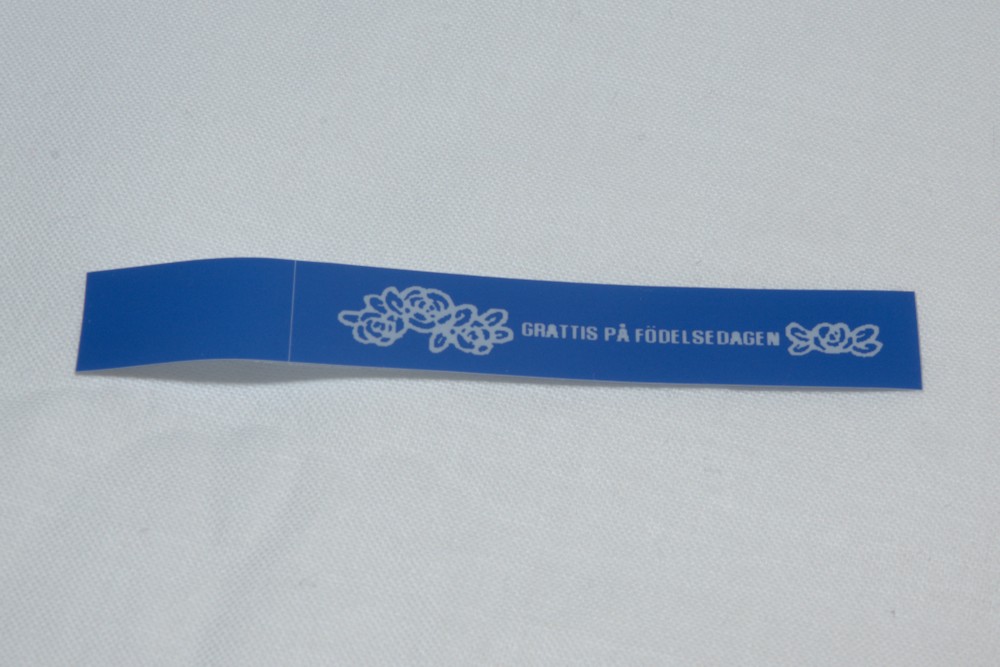
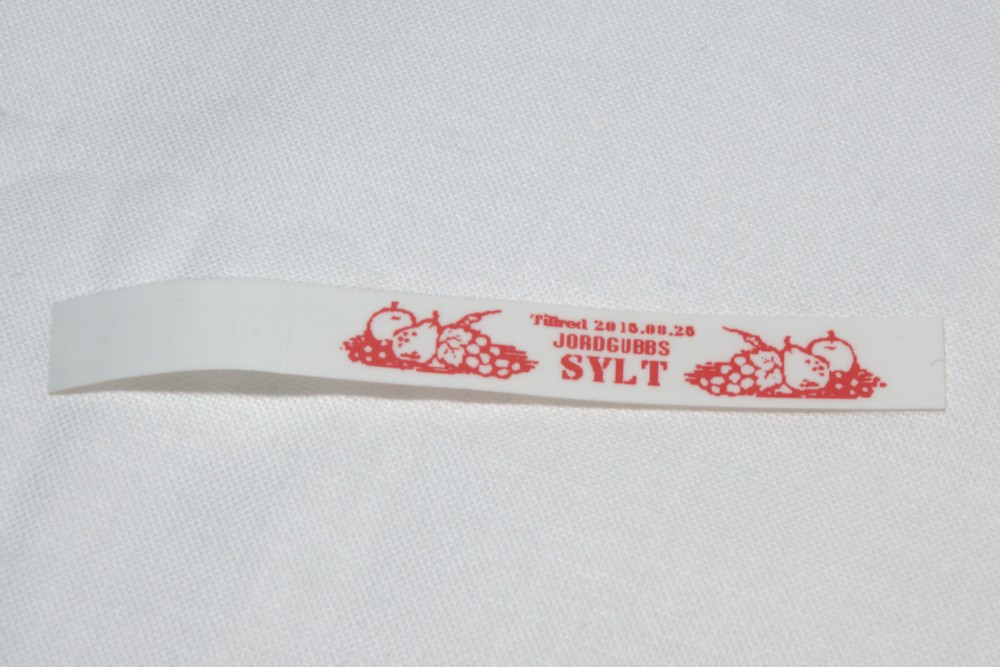
I’ve tried a few different variations and I’ve even designed a few of my own, both with ideas from existing signs/labels that already exist but also simple that I design myself.
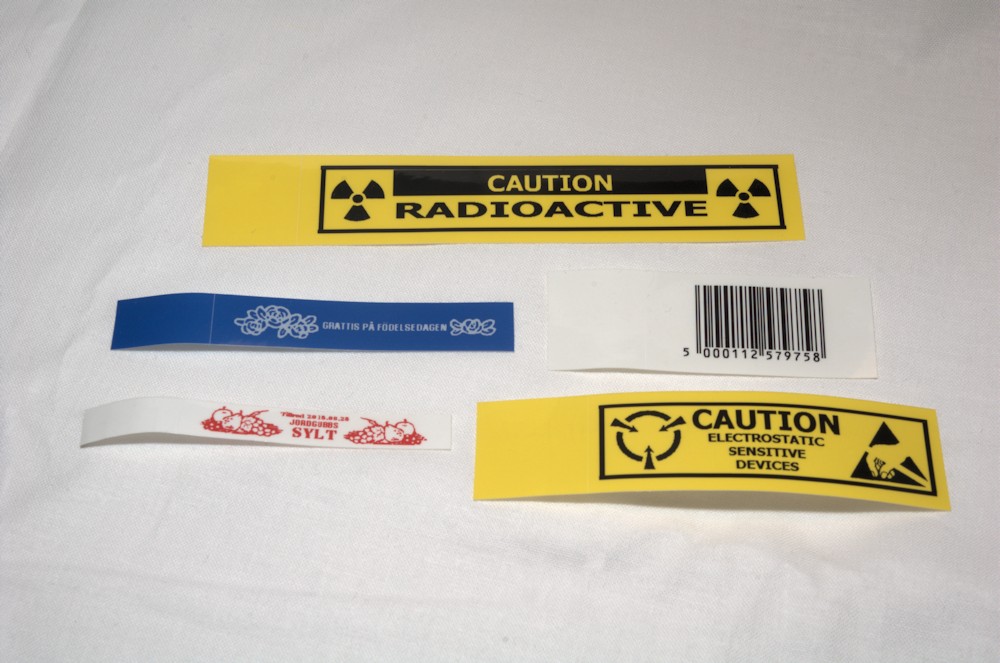
A few of those that I’ve printed so far during the review can be seen in the following photo.


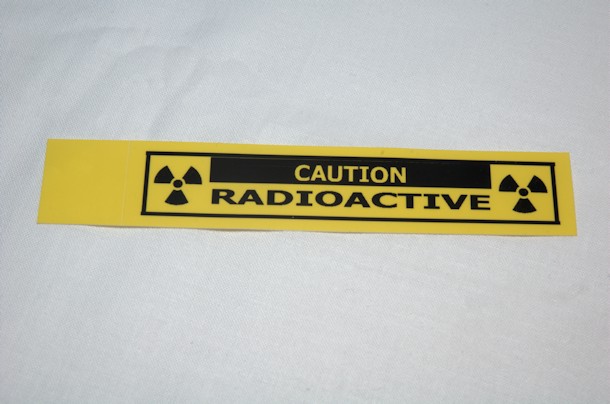
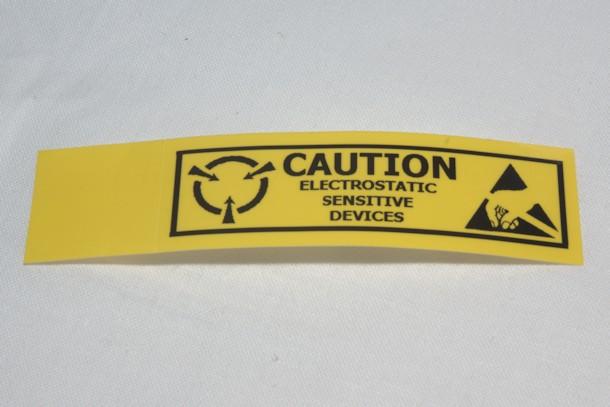
For me, black on yellow is equal to warning. What goes better then, if not a radioactive label? I’ve also encountered the following black on yellow, which of course also is a warning label, when I’ve ordered electronic components that might be sensitive to static electricity. So here goes an ESD (ElectroStaticDischarge) label.
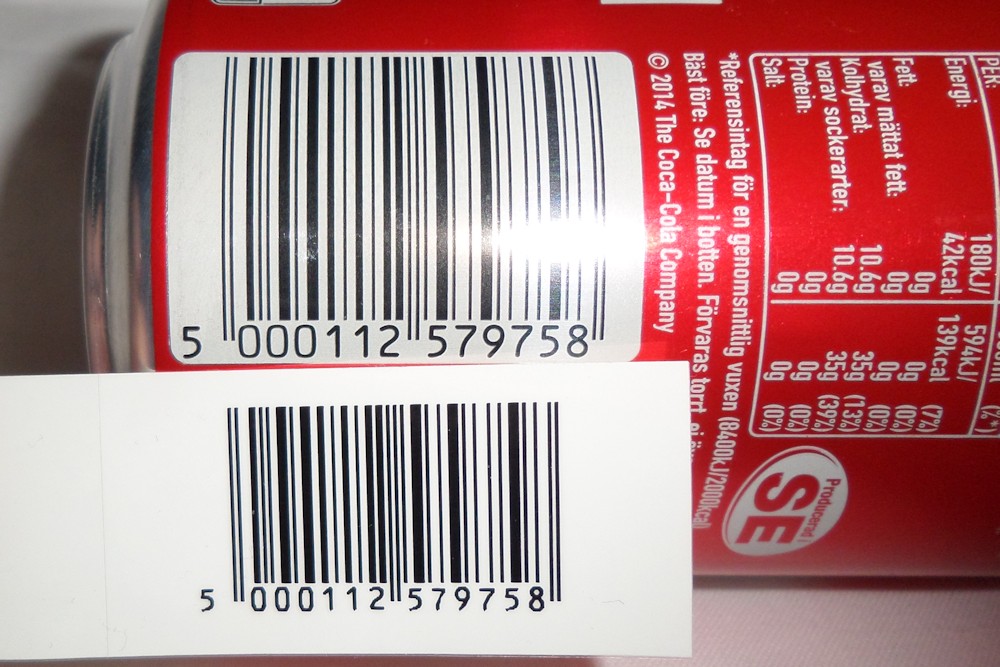
It is also quite easy to print barcodes with the P750W, in the following example we have a well-known brand soda can with an exact copy, although a bit smaller, of the barcode. Please note, I do not suggest that anyone print bar codes like this and use that for recycling purposes, that is illegal! This was only a test to print the barcode! I do not take any responsibility for what you do with your printer :)

So, let’s get back to reality – what can we label today?
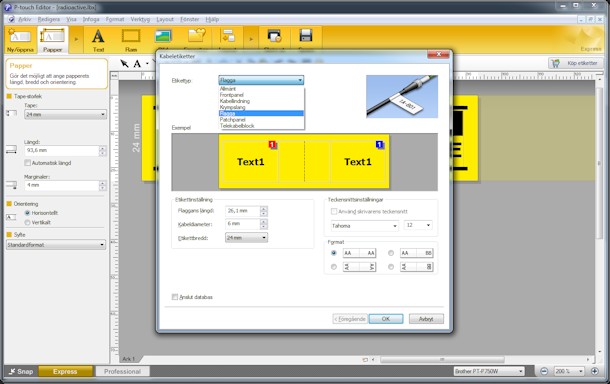
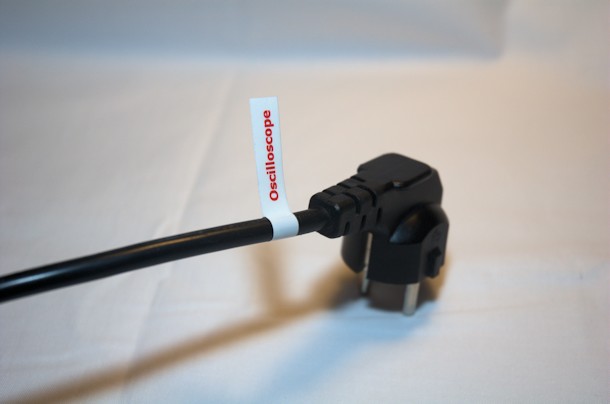
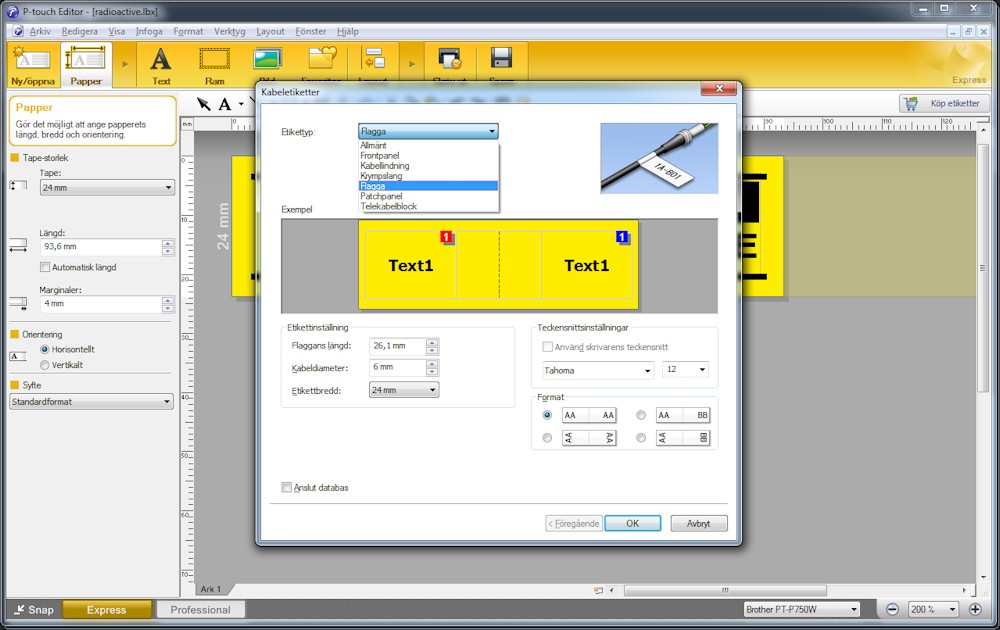
I have lots of cables that need labeling and there are several different kinds of labels you can print in regards to for example, cables. You can print flags that I really like, you can print heat shrink tubes that I unfortunately don’t have at hand for this review, you can also print wrap labels that wraps around the cable and just add slightly to the thickness of the cable instead of a flap that stands out such as the flags do.
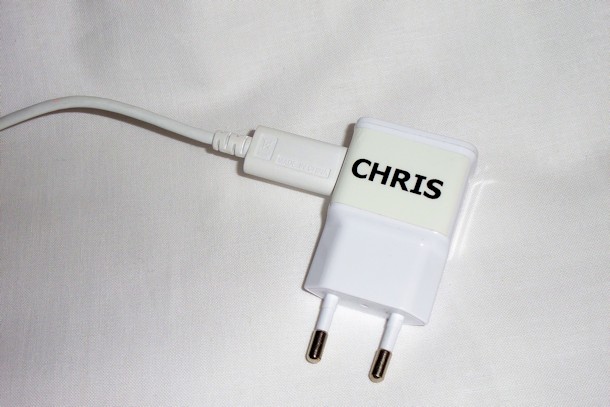
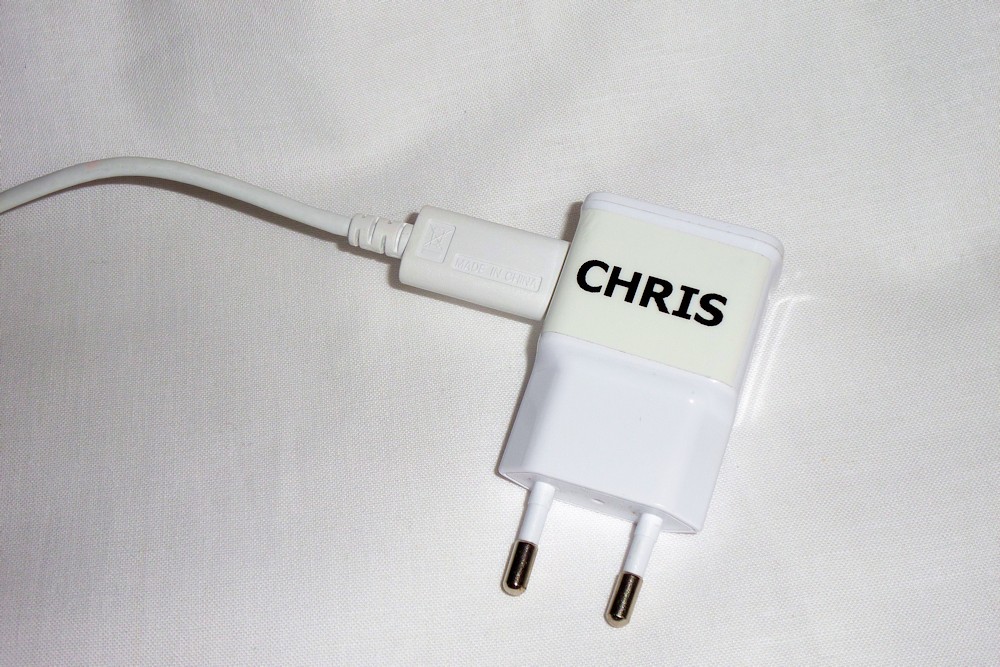
If there is a connector large enough you could of course print out a label to fasten on that, or as in the following case, put a label on the charger for my phone and tablet.
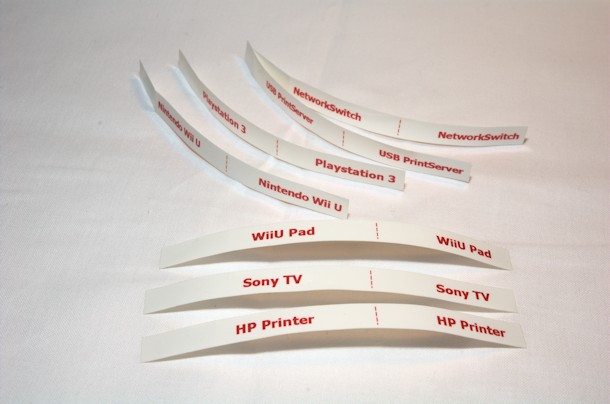
The flags that I mentioned looks like this after printed, but before fastening them on the cables. When you want to fasten this, you need to align the dotted line with the cable and use that as a center when wrapping the label around the cable. Compared to the labels that completely wrap around the cable the flags just go around and meet up with the other end of the label to make a flag which stands straight out from the cable itself.
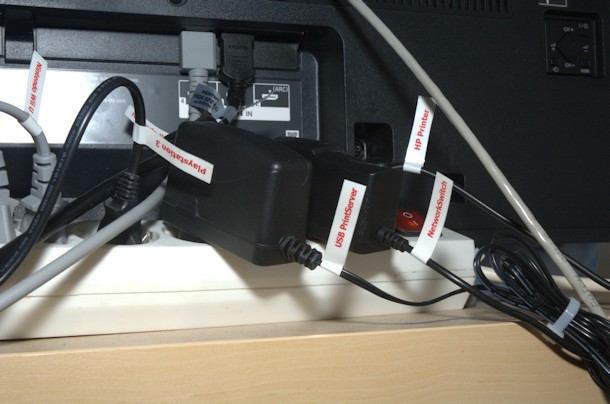
In my opinion it looks great and makes it really easy to find the correct cable among lots of cables. Another set of labels found their way to the computer setup where I have a few, but not too many different cables.
Here I label the cables for each of my monitors, one 27 inch, one 19 inch and the computer itself - this because the cables are the same, so it’s quite hard to know which goes where. I also labeled the wall lamp, desk lamp and the fan I have sitting on the desk, which all have more or less the exact same type of plug. I couldn’t really learn which of the three went to what, so better label it!
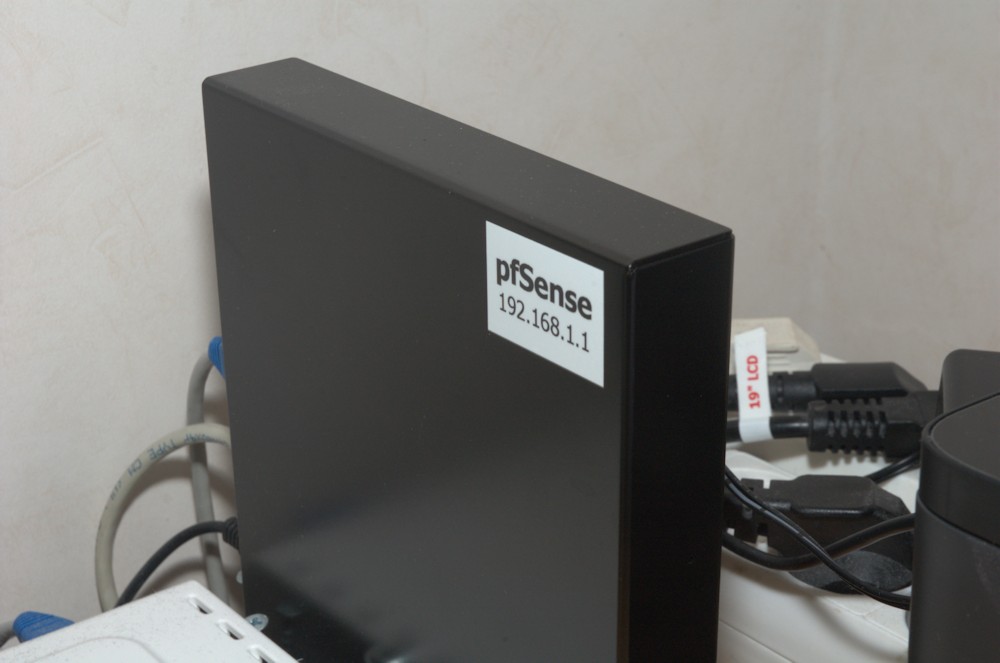
Another label which is very useful is the one for our router which runs the pfSense software. The router is a special built one and the motherboard inside is a PC Engines Alix2d13. It certainly isn’t every day that you connect to the router and although I know the IP address of 192.168.1.1 as it is the easiest and most well-known IP address of all time, it might be good to have it stored. What better place than on the router itself?

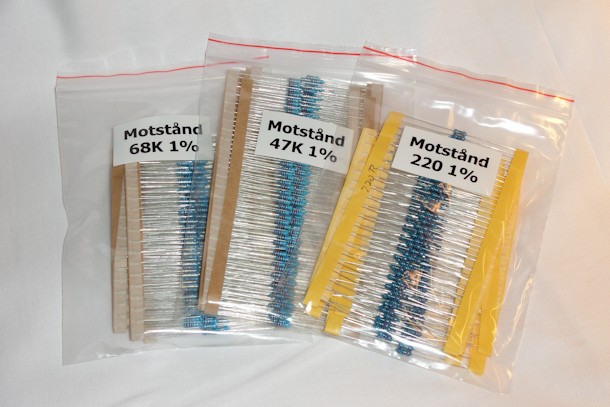
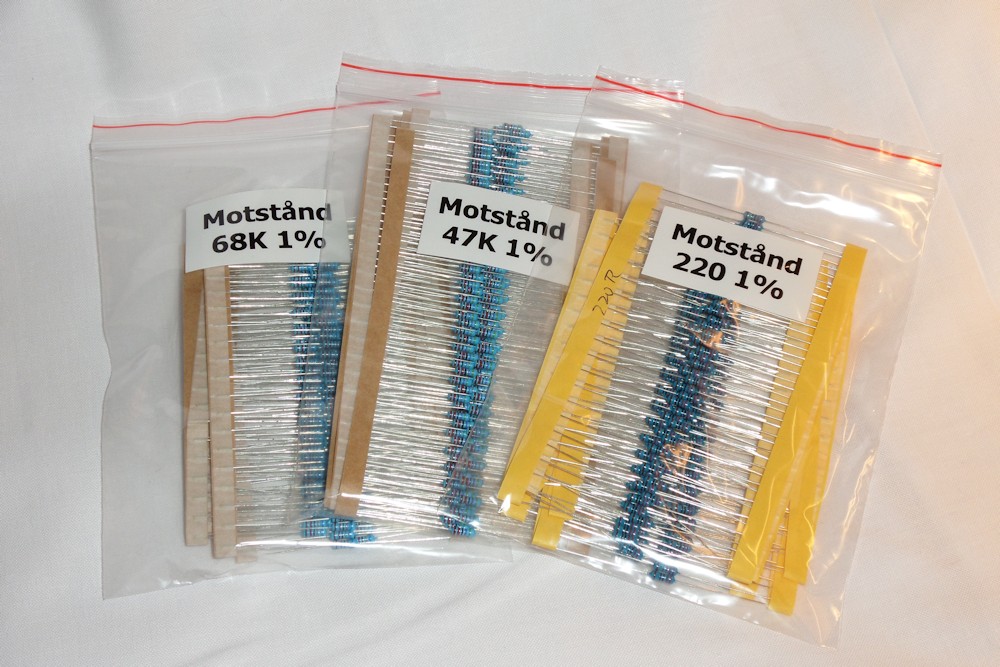
Furthermore you can label all sort of things, the following is resistor packs that received some labels to make them look extraordinary and makes it easy to find the correct one. Compared to hand written ones that might bleed out, fade or just rip apart, the TZe tapes are weather, heat and age resistant.
Finally, I’m not going through the full software, but I wanted to show yet another solution for labels. Ok, so the P750W can handle a maximum width of 24mm, what if you really need a wider label, is it really necessary to buy a new machine that handles wider tapes?
Most certainly not!
In the software you can design labels with up to 4 times the width of one label. Perhaps not so useful with narrow labels such as 6mm and so, but it could certainly work. However if you’d like a label closer to 48mm you can go with a 2x24mm label.
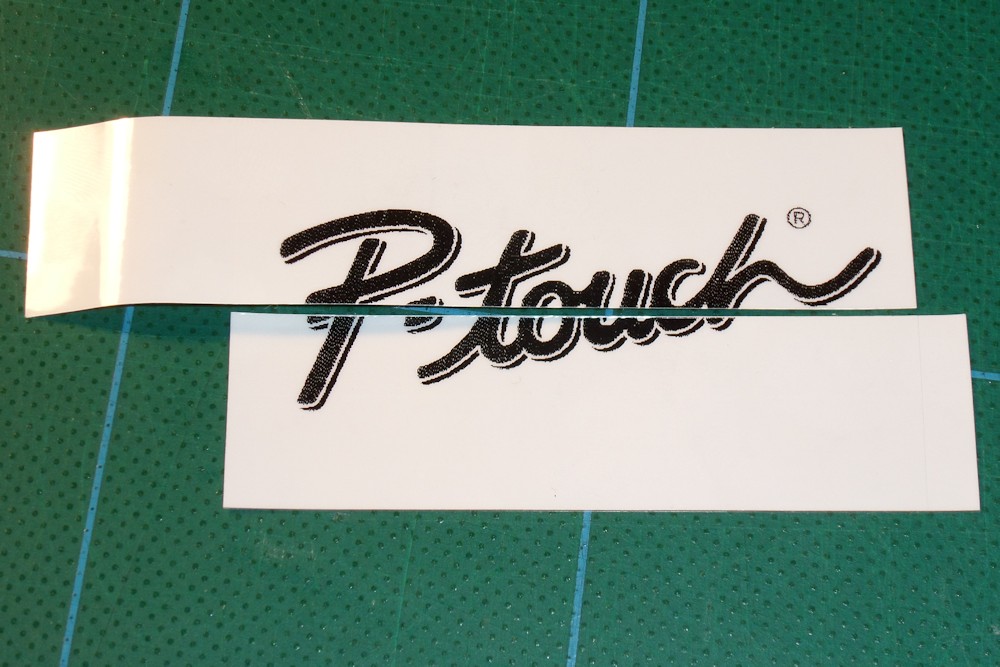
Here I’ve taken the P-Touch logo and placed it in the middle of two labels. I didn’t really know what to expect when it was printed as it was the first time I’ve tried this. So, when printed it looks like the following, not really smooth transition between the two labels, although it works.

However, trimming the labels a bit with a knife and ruler erases this distance and starts to look more like a single label. Fitting them together makes it look a whole lot better and for just a little extra work, you can make even wider labels, even if your printer couldn’t handle this wide from the start.

The end result, in my opinion, looks and works great.
The Brother P-touch P750W is an excellent piece of hardware perfectly suited everyone who has the need to label and sort things. If you feel a need to label folders, cables, drawers or even clothes, the P-touch P750W is the perfect tool for you.
Brother brings extra functionality with the P750W in form of NFC and Wi-Fi connectivity, making this product ideal for offices who would like to share a printer amongst the employees – to save on costs. I could totally see this product as a great tool for electricians the other similar work as it surely is easier, in my opinion, to use a smartphone to design, edit and print labels instead of using a very small keyboard.
Thanks to the battery power either from regular AA batteries or the rechargeable pack, you could bring this device with you anywhere you go. The price isn’t that high either, so I really believe that this product is ideal for home users as well and thanks to the excellent tapes, you don’t have to worry about tapes getting old and you need to use them as quick as possible – nope, they can be stored for a long period and still work when you need them.
All in all, the Brother P-touch P750W is a really fun, interesting and great product recommended for, exactly everyone.

This however isn’t the end of the review. For this article, it is the end, but I will continue to use this machine for a while now and see what else I can label. One of the very useful things you can label, again cables, are cables on radio controlled vehicles.
This fall, as mentioned earlier, we’re starting up our R/C section where we will be testing, reviewing and building different R/C products. For this we will also use the Brother P-touch P750W to label cables and various other things that will be good to know exactly what it is, so that we don’t connect it the wrong way or in the wrong place.
For now I’d like to thank Brother for sending over this product to us for test and review. Hopefully this isn’t the last Brother product we test as they have a whole host of different and very interesting products in their portfolio. Be sure to check out their site for more information!
It is as simple as opening up the left side of the unit, unpacking a tape, insert it the correct way and closing the door again. Be careful of the white lever, do not touch it with your hand/fingers/anything else as that is forbidden. I certainly don’t know why, but let’s stick to that :)


When we’ve done that and turned on the machine, the software is very self-explanationary and it looks very good. The printer can be fully configured through the software and you can change every single little thing about how you want your labels to print.
Sideways – horizontal or vertical, upside down and backwards. Do you want some text in the vertical fashion and some in horizontal? No worries! You can have bold and narrow text on the same label as well as several lines with as small text as 5 points.
Do you want to print pictures? No worries either! You can print frames, pictures, symbols, clip-art, text of all sorts. You can even choose any font that you have on your computer. So if you’ve bought some special font that you would love to use on your labels, go ahead!
I’ve tried a few different variations and I’ve even designed a few of my own, both with ideas from existing signs/labels that already exist but also simple that I design myself.
A few of those that I’ve printed so far during the review can be seen in the following photo.

For me, black on yellow is equal to warning. What goes better then, if not a radioactive label? I’ve also encountered the following black on yellow, which of course also is a warning label, when I’ve ordered electronic components that might be sensitive to static electricity. So here goes an ESD (ElectroStaticDischarge) label.

It is also quite easy to print barcodes with the P750W, in the following example we have a well-known brand soda can with an exact copy, although a bit smaller, of the barcode. Please note, I do not suggest that anyone print bar codes like this and use that for recycling purposes, that is illegal! This was only a test to print the barcode! I do not take any responsibility for what you do with your printer :)
So, let’s get back to reality – what can we label today?
I have lots of cables that need labeling and there are several different kinds of labels you can print in regards to for example, cables. You can print flags that I really like, you can print heat shrink tubes that I unfortunately don’t have at hand for this review, you can also print wrap labels that wraps around the cable and just add slightly to the thickness of the cable instead of a flap that stands out such as the flags do.
If there is a connector large enough you could of course print out a label to fasten on that, or as in the following case, put a label on the charger for my phone and tablet.

The flags that I mentioned looks like this after printed, but before fastening them on the cables. When you want to fasten this, you need to align the dotted line with the cable and use that as a center when wrapping the label around the cable. Compared to the labels that completely wrap around the cable the flags just go around and meet up with the other end of the label to make a flag which stands straight out from the cable itself.
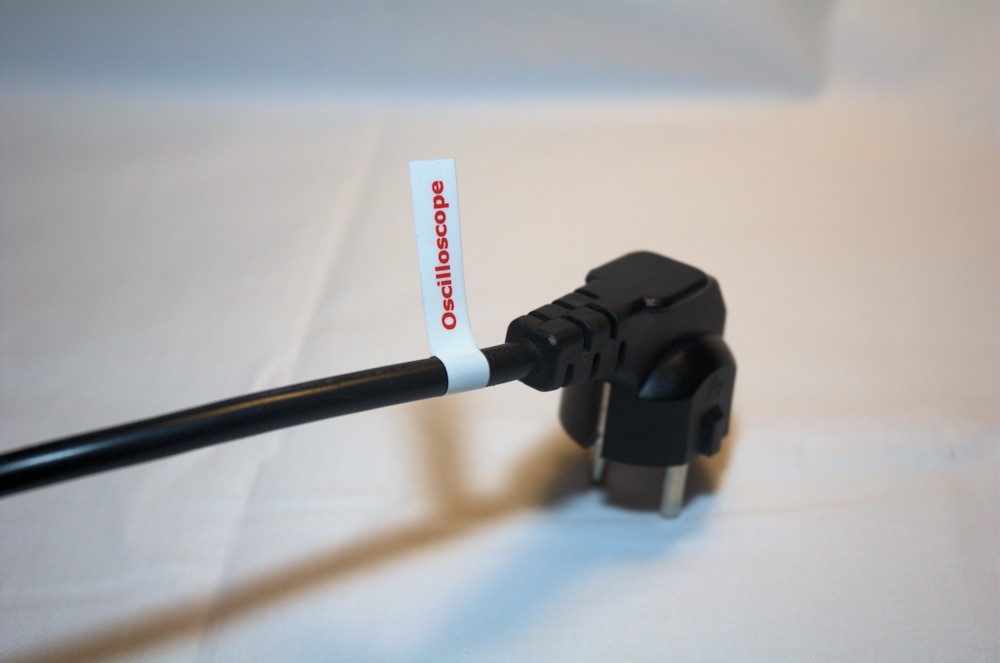

In my opinion it looks great and makes it really easy to find the correct cable among lots of cables. Another set of labels found their way to the computer setup where I have a few, but not too many different cables.
Here I label the cables for each of my monitors, one 27 inch, one 19 inch and the computer itself - this because the cables are the same, so it’s quite hard to know which goes where. I also labeled the wall lamp, desk lamp and the fan I have sitting on the desk, which all have more or less the exact same type of plug. I couldn’t really learn which of the three went to what, so better label it!
Another label which is very useful is the one for our router which runs the pfSense software. The router is a special built one and the motherboard inside is a PC Engines Alix2d13. It certainly isn’t every day that you connect to the router and although I know the IP address of 192.168.1.1 as it is the easiest and most well-known IP address of all time, it might be good to have it stored. What better place than on the router itself?
Furthermore you can label all sort of things, the following is resistor packs that received some labels to make them look extraordinary and makes it easy to find the correct one. Compared to hand written ones that might bleed out, fade or just rip apart, the TZe tapes are weather, heat and age resistant.
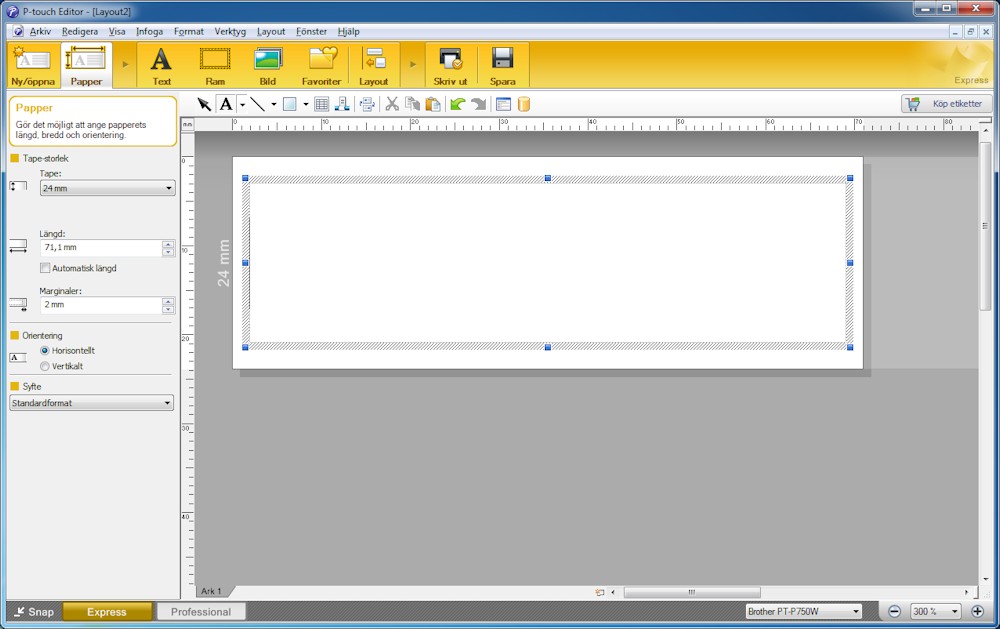
Finally, I’m not going through the full software, but I wanted to show yet another solution for labels. Ok, so the P750W can handle a maximum width of 24mm, what if you really need a wider label, is it really necessary to buy a new machine that handles wider tapes?
Most certainly not!
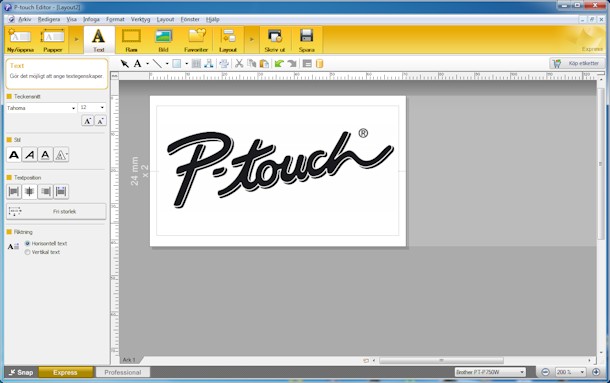
In the software you can design labels with up to 4 times the width of one label. Perhaps not so useful with narrow labels such as 6mm and so, but it could certainly work. However if you’d like a label closer to 48mm you can go with a 2x24mm label.
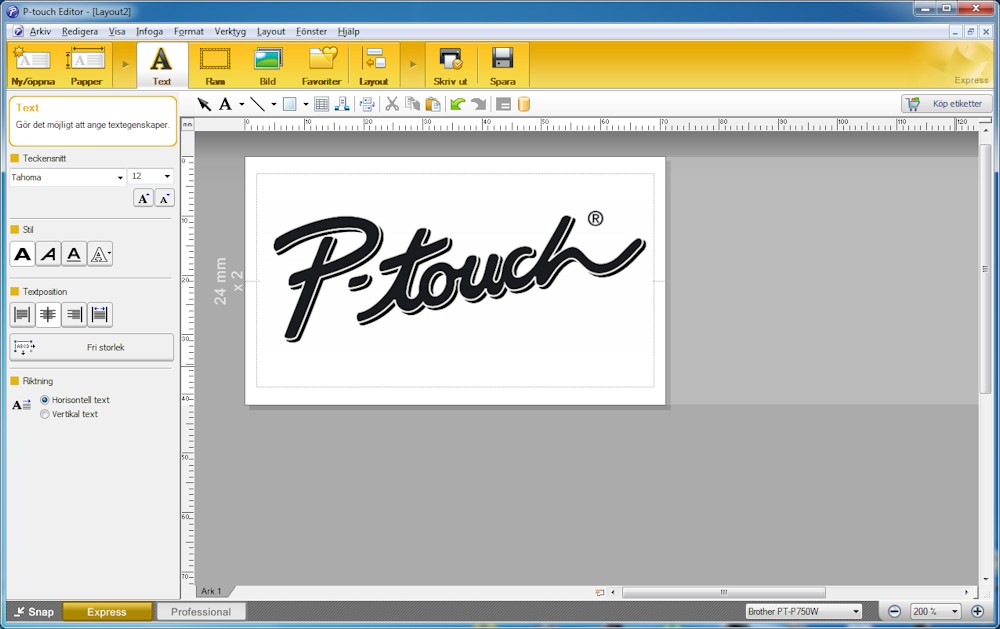
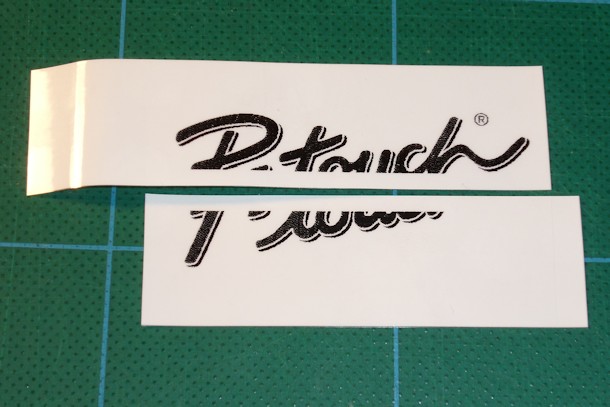
Here I’ve taken the P-Touch logo and placed it in the middle of two labels. I didn’t really know what to expect when it was printed as it was the first time I’ve tried this. So, when printed it looks like the following, not really smooth transition between the two labels, although it works.

However, trimming the labels a bit with a knife and ruler erases this distance and starts to look more like a single label. Fitting them together makes it look a whole lot better and for just a little extra work, you can make even wider labels, even if your printer couldn’t handle this wide from the start.
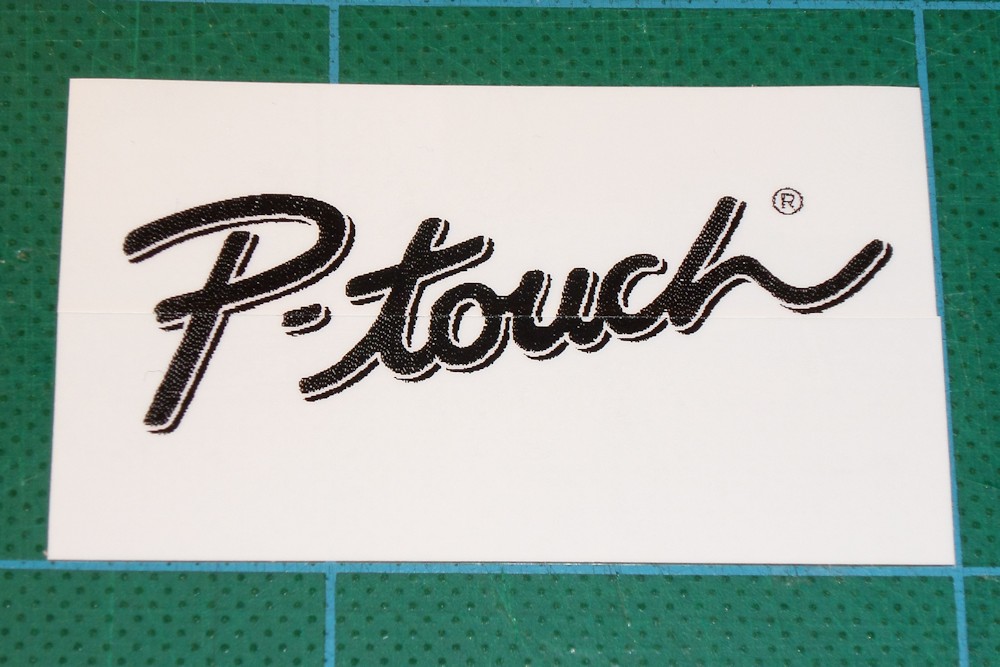
The end result, in my opinion, looks and works great.
The Brother P-touch P750W is an excellent piece of hardware perfectly suited everyone who has the need to label and sort things. If you feel a need to label folders, cables, drawers or even clothes, the P-touch P750W is the perfect tool for you.
Brother brings extra functionality with the P750W in form of NFC and Wi-Fi connectivity, making this product ideal for offices who would like to share a printer amongst the employees – to save on costs. I could totally see this product as a great tool for electricians the other similar work as it surely is easier, in my opinion, to use a smartphone to design, edit and print labels instead of using a very small keyboard.
Thanks to the battery power either from regular AA batteries or the rechargeable pack, you could bring this device with you anywhere you go. The price isn’t that high either, so I really believe that this product is ideal for home users as well and thanks to the excellent tapes, you don’t have to worry about tapes getting old and you need to use them as quick as possible – nope, they can be stored for a long period and still work when you need them.
All in all, the Brother P-touch P750W is a really fun, interesting and great product recommended for, exactly everyone.
This however isn’t the end of the review. For this article, it is the end, but I will continue to use this machine for a while now and see what else I can label. One of the very useful things you can label, again cables, are cables on radio controlled vehicles.
This fall, as mentioned earlier, we’re starting up our R/C section where we will be testing, reviewing and building different R/C products. For this we will also use the Brother P-touch P750W to label cables and various other things that will be good to know exactly what it is, so that we don’t connect it the wrong way or in the wrong place.
For now I’d like to thank Brother for sending over this product to us for test and review. Hopefully this isn’t the last Brother product we test as they have a whole host of different and very interesting products in their portfolio. Be sure to check out their site for more information!
Previous Next

Christopher Fredriksson
Editor
Tech partners


Game partners


Affiliates


![[H]ard|OCP, https://www.hardocp.com](https://swemod.com/uploaded/affiliates/hardocp.jpg)
![[M]adshrimps, https://www.madshrimps.be](https://swemod.com/uploaded/affiliates/madshrimps.jpg)