
Antec P183
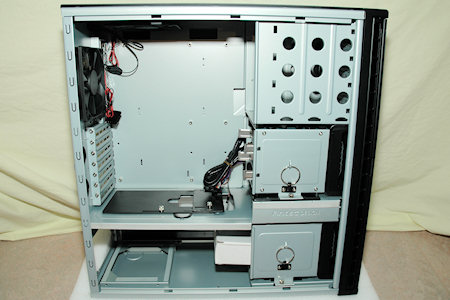
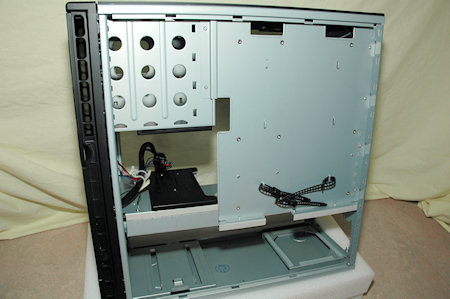
Having a look on the inside reveals that the P183 doesn’t feature much difference to the P182, it basically has the exact same design.
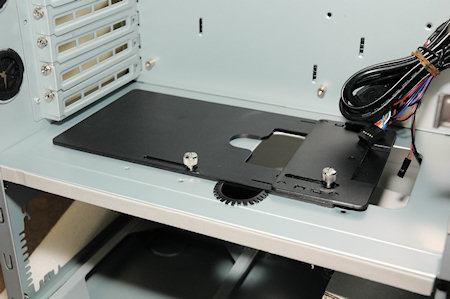
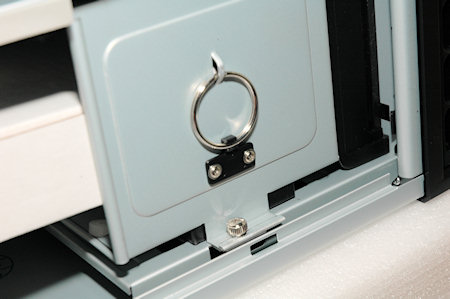
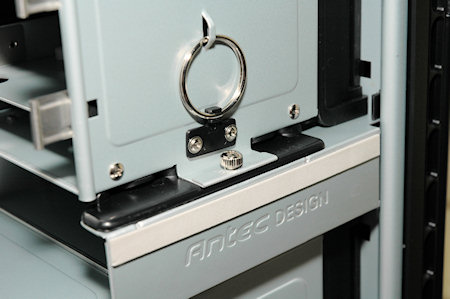
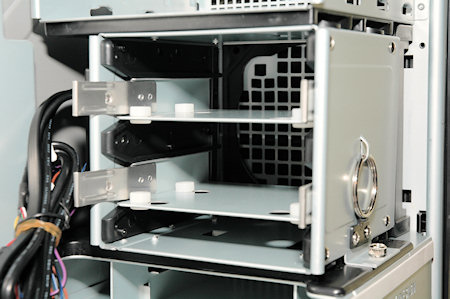
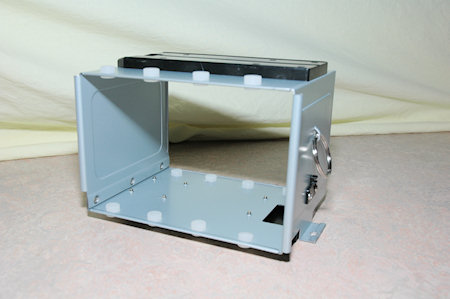
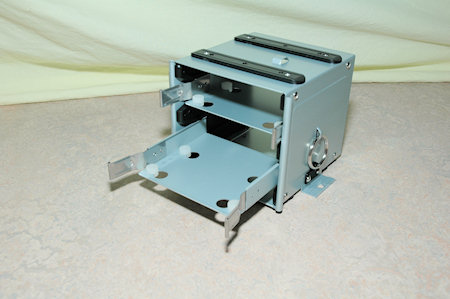
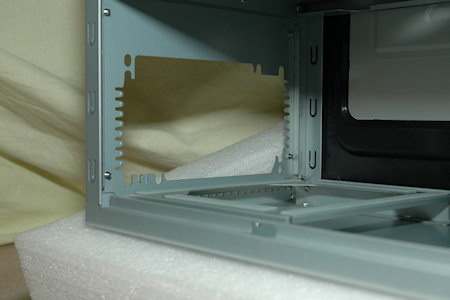
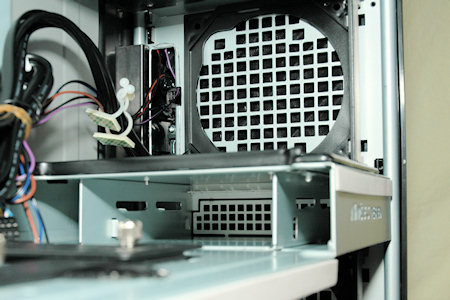
The case is has the same structure with two chambers to separate the heat sources and to keep your power supply cool from the rest of the system. We also find the cable management plastic feature in the top of the lower chamber, two disk drive racks both secured with a thumbscrew each.
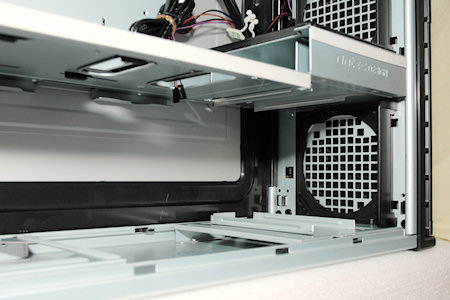
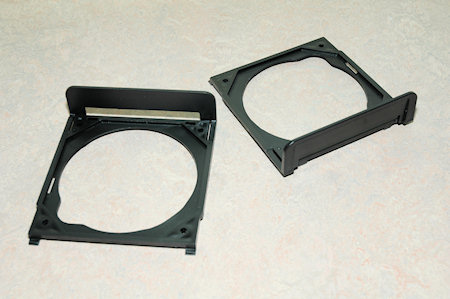
One difference you might notice right away is that there is no fan holder in the middle of the lower chamber, this fan holder has instead moved to in front of the lower disk drive rack.
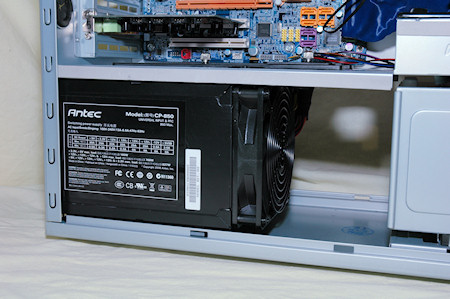
This way you both get more space for the power supply, but it also makes sure that fresh air is taken from outside of the case in the front to cool down your disk drives and the power supply.
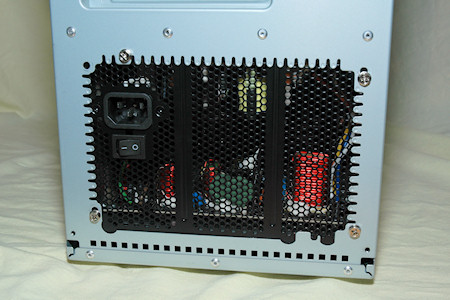
Antec has also skipped on the securing bracket for the power supply unit and that is simply because this case supports the newer non-atx standard power supply from Antec, the CP-850.
This power supply is a bit different than normal atx power supplies in that it’s a bit larger, it features two printed circuit boards and a bit more.
Have a look on this product link to find out more.
Other than that, we find the Antec logo imprinted just like in the P182 together with rubber strips along the side of the lower chamber’s top, to reduce vibration from the side panels.
Just under the upper disk drive rack there is a 3.5 inch drive bay where you can fit a retro working or nonworking floppy drive ;) or perhaps a memory card reader, fan controller or anything else you might find to put there.
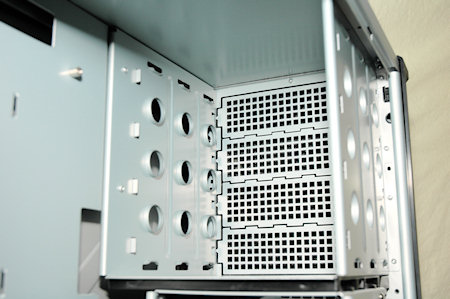
Looking up we find the drive bays and here we find, as said before a total of four bays. Drives are easily installed with drive rails that come with the case, same standard as previous P18x chassis and also from other manufacturers.
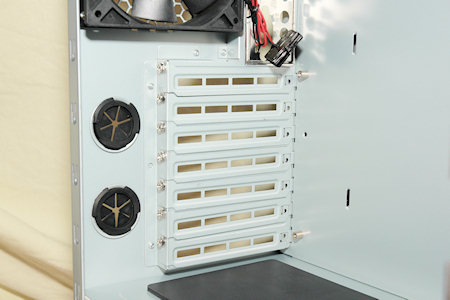
Turning our heads to the back reveals the expansion slots, the cards are secured with screws in this case. Much better than the easier but not so good plastic snap versions.
We also see the two holes with rubber grommets which can be used for water cooling hoses.
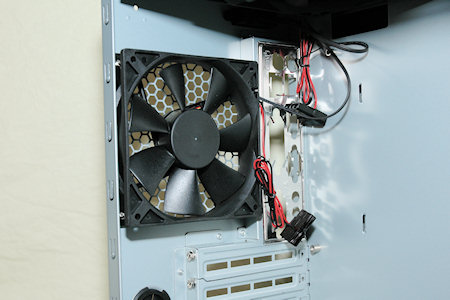
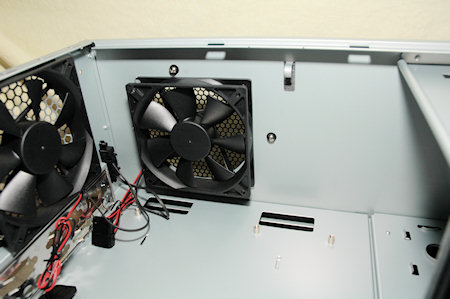
Just above we see one of the two exhaust fans that comes with the case, and above that we see the top exhaust fan.
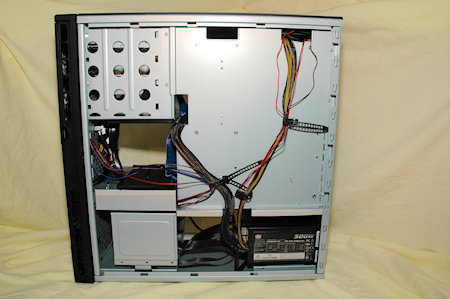
Rotating the case around and having a look behind the right side panel reveals some cable management features.
Three holes to guide the cables through, two re-usable cable ties already in place and lots more places to either reposition these cable ties or the one-time use version that also comes with the case in the product box.
There is plenty of room to guide the cables behind the right side panel and it feels like the holes are positioned correctly to most standard layouts of motherboards.
We also see the rubber strips along the line of the lower chambers top. The motherboard is unfortunately not removable.
When the system is installed into the case you clearly see that it can fit high-end graphic cards which are longer than normal, or well these cards are becoming more “normal” nowadays than the old and shorter ones ;)
On next page we’ll take a look at my final thoughts and also the temperature table.

Christopher Fredriksson



![[H]ard|OCP, https://www.hardocp.com](https://swemod.com/uploaded/affiliates/hardocp.jpg)
![[M]adshrimps, https://www.madshrimps.be](https://swemod.com/uploaded/affiliates/madshrimps.jpg)
