Cooler Master Storm Sniper
We are today having a look at the Sniper case from Cooler Master and we’re starting out with the package. Much like the Nine Hundred Two from Antec the Sniper has a package which secretly shows you what you can expect when you open it up.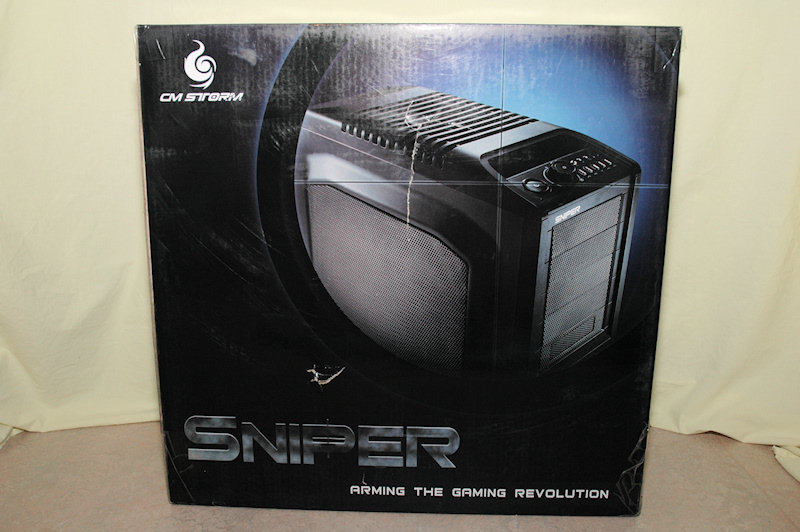
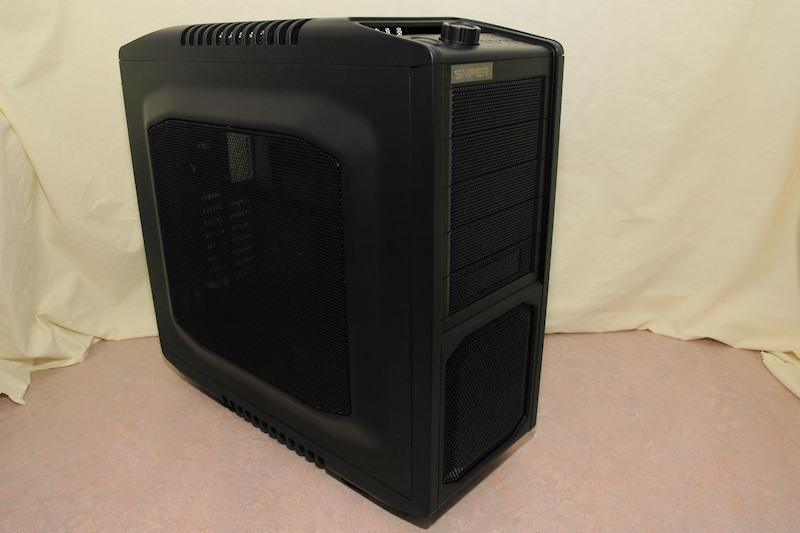
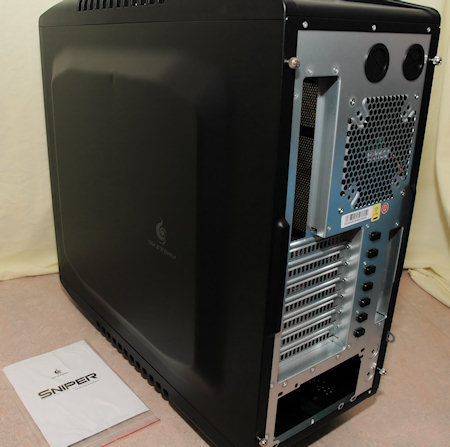
The Cooler Master Sniper is what you can see from the front, all black; plastic details and metal. But when you swing around and have a look at the back you can see that its metal coloured on some pieces.
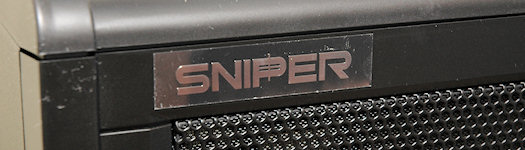
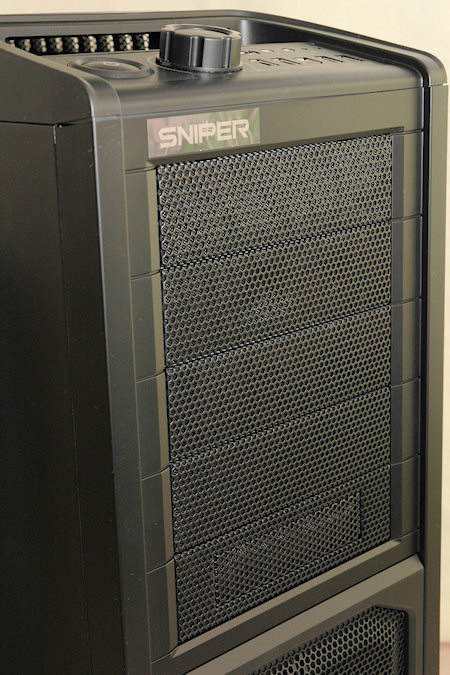
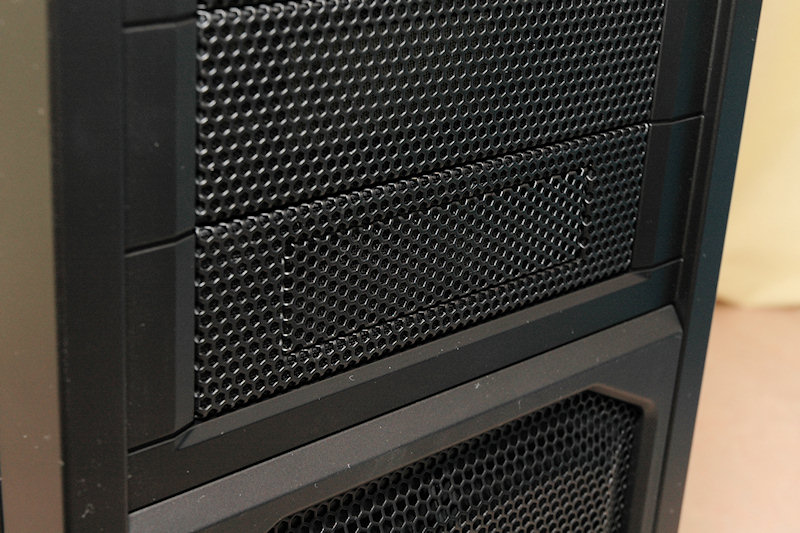
On the front of the case we can find in the top the logo of the case, “Sniper”. Moreover we see that the front bays are made out of mesh metal pieces and we have a total of five bays, with the last one doubling as a 3.5 inch bay.
In the front at the bottom we see another honeycomb mesh metal piece and behind this we find a fine masked fan filter, which may prove to be a bit difficult to clean as you have to remove the honeycomb mesh before you get to the fine masked filter.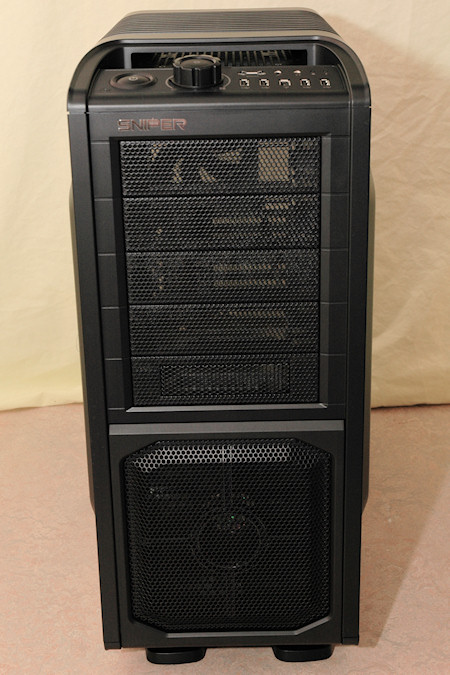
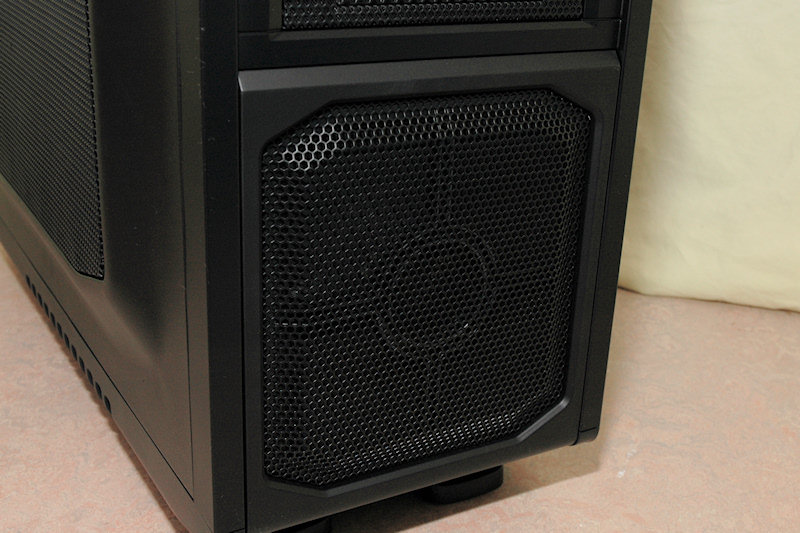
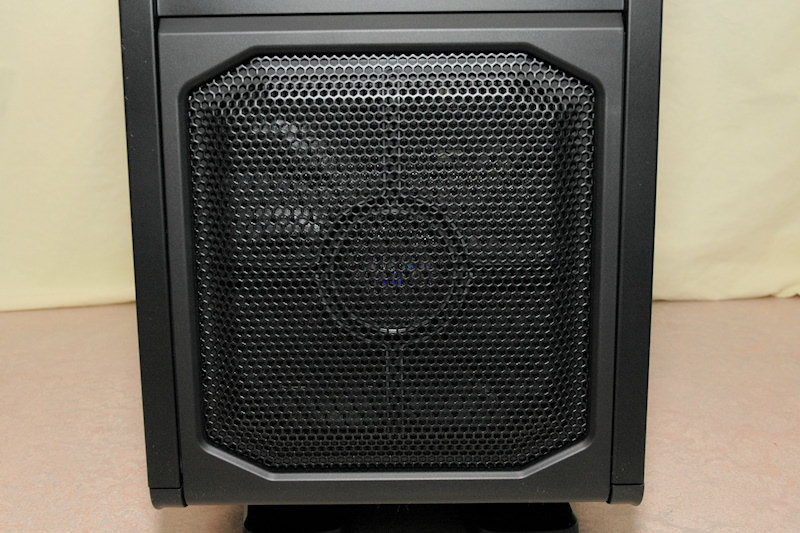
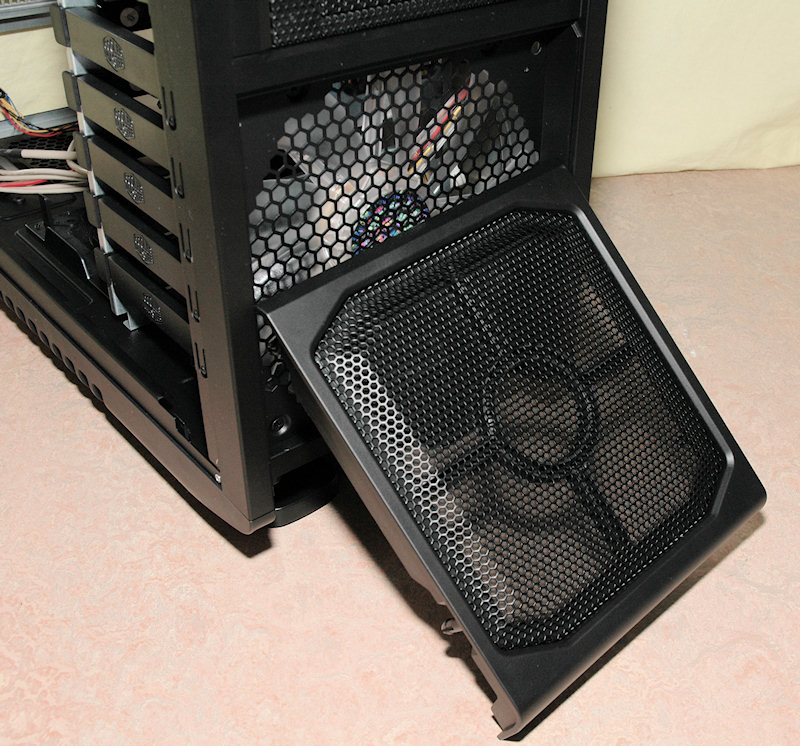
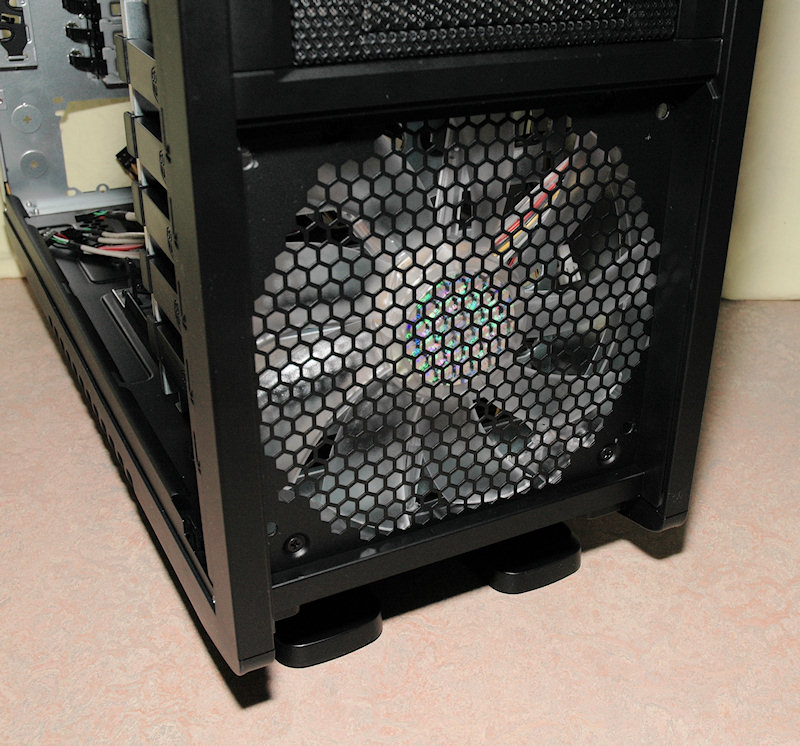
Inside this we find a large fan which takes air from the outside and blow it onto the disk drives on the inside.
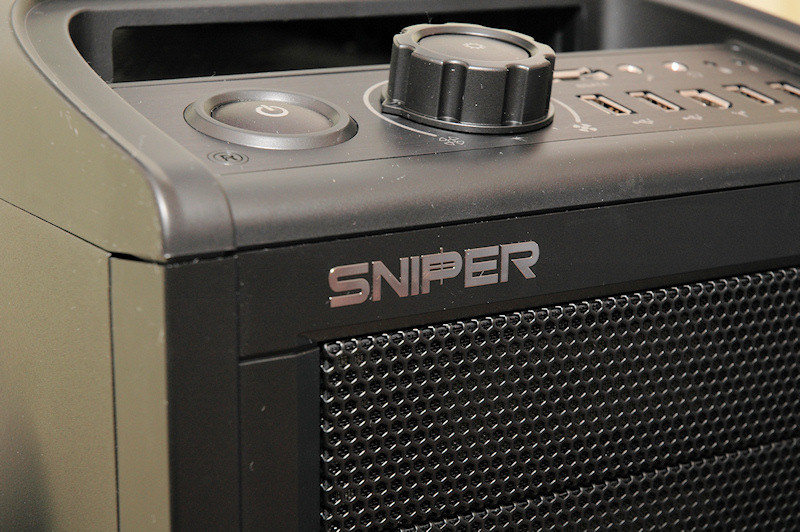
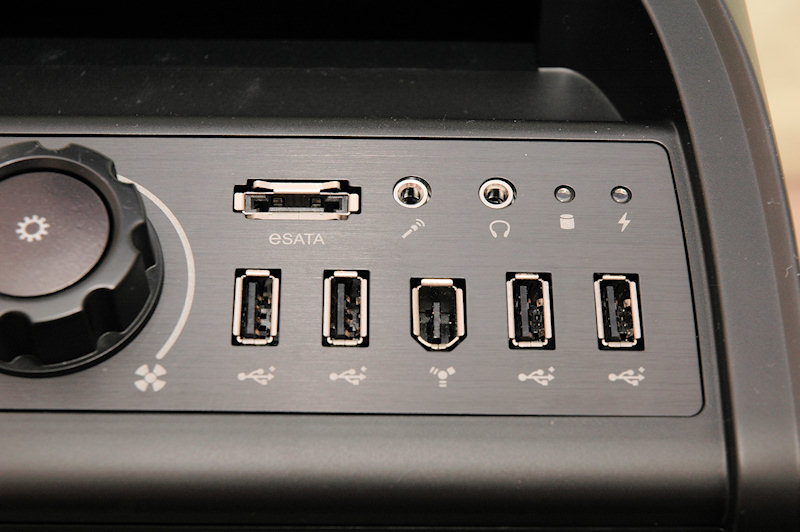
If we take a look at the top front panel we find more connections than usual. We have one eSATA port, one mic and one headphone plug, two leds; one for disk activity and one for power. On second row we have a total of four USB ports and one firewire in the middle.
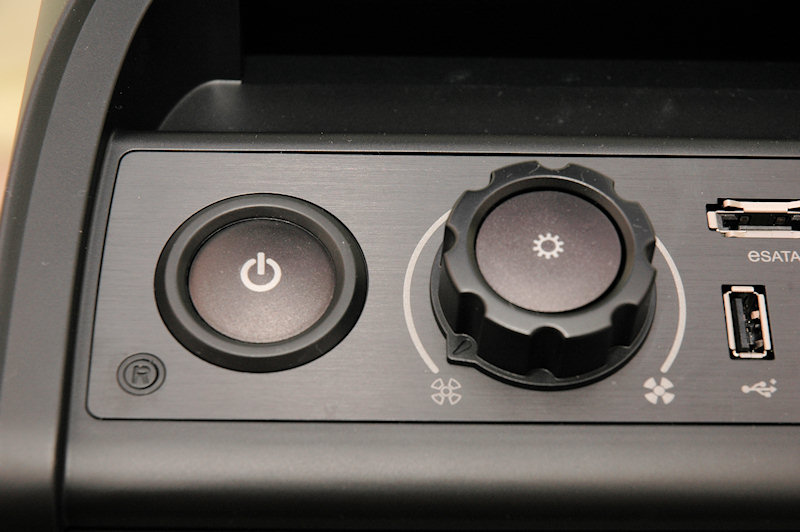
At the left we find a power button, a really small reset button and then a simple fan controller. However the sun like symbol on top of the fan controller is actually a button, which when pressed activates and deactivates the blue led light in the front and top fan inside the case.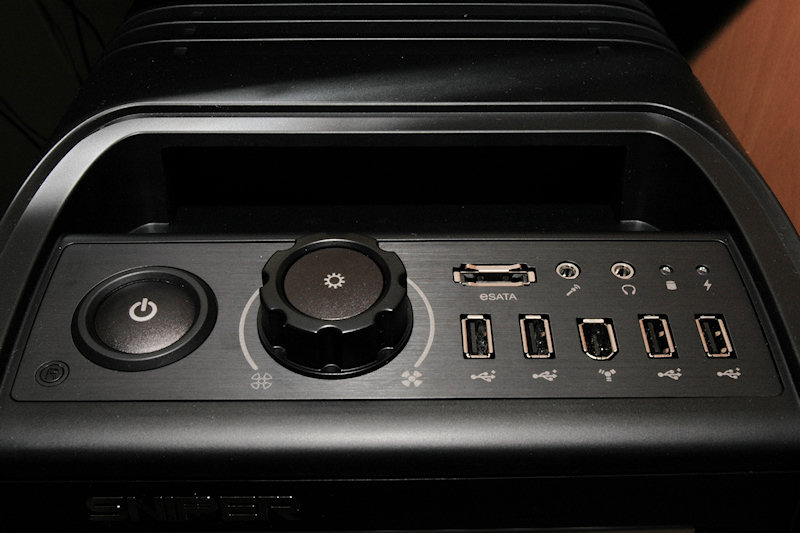
The fan controller is connected to a long cable on the inside with female version of the molex power connectors. Everything you connect on these connectors is then controlled by the fan controller in the front panel. What a perfect idea to control all the case fans from one single controller, well done!
If you look down into the top piece of the case from the back you can see that there are lots of small holes in there. Under there you have an exhaust fan, connected to the fan controller in the top panel.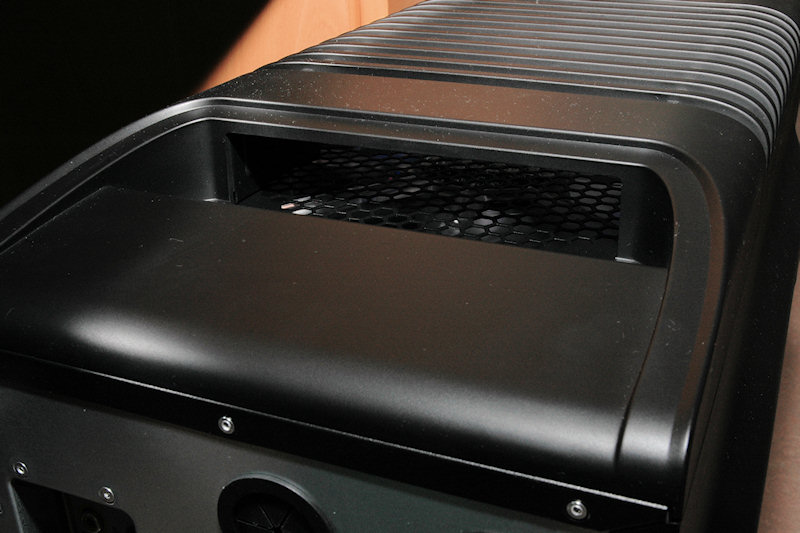
This canal also doubles as lifting handles and this because there are metal handles just inside the canal on both sides. These are fastened onto the actual metal case so they can handle the weight of a fully loaded computer case.
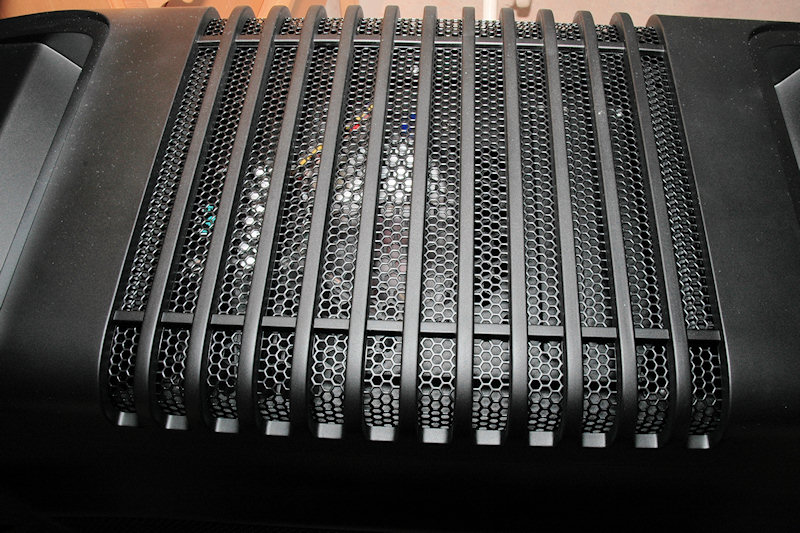
Also if you have a look at the top of the case there are vents here, so that the air won’t have to only go out through the handles, but also straight up.
On the side of the case we also have this mesh metal and the side panel also has a stylish bevel on it. Behind this mesh there is also a fin masked fan filter, there are however no fans installed on this side panel.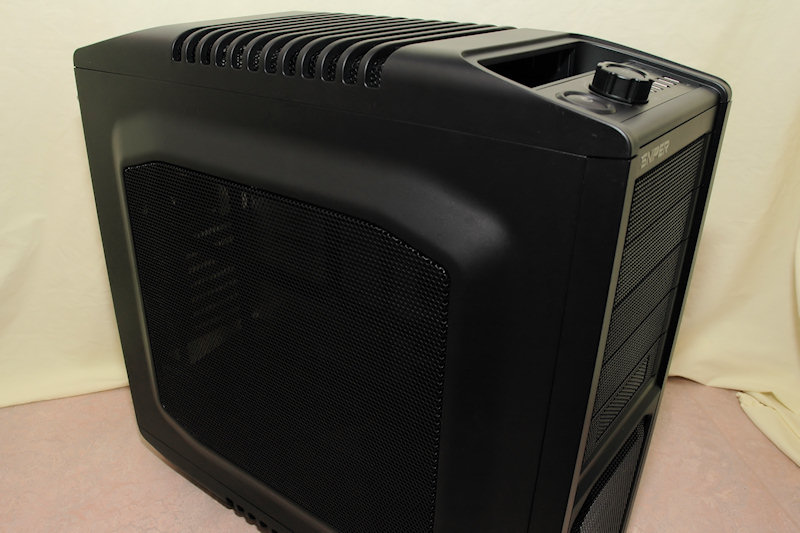
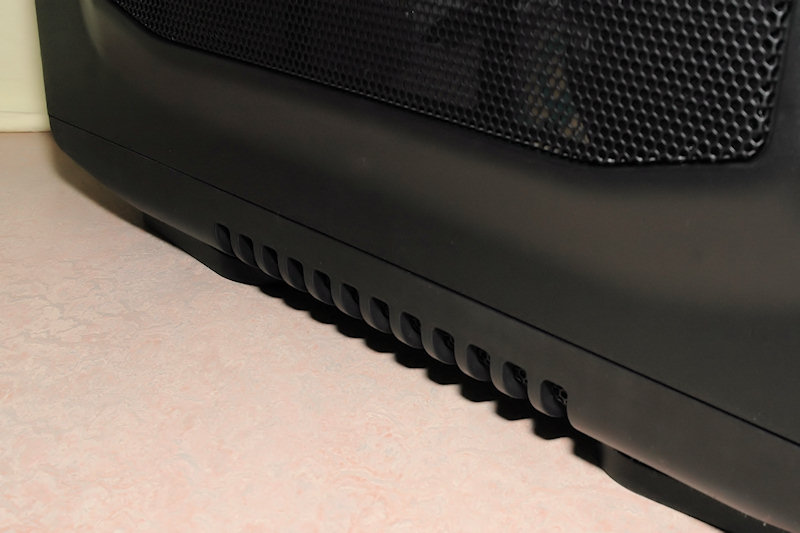
Under the case we also find some vents, more on these later on when we flip the case over.
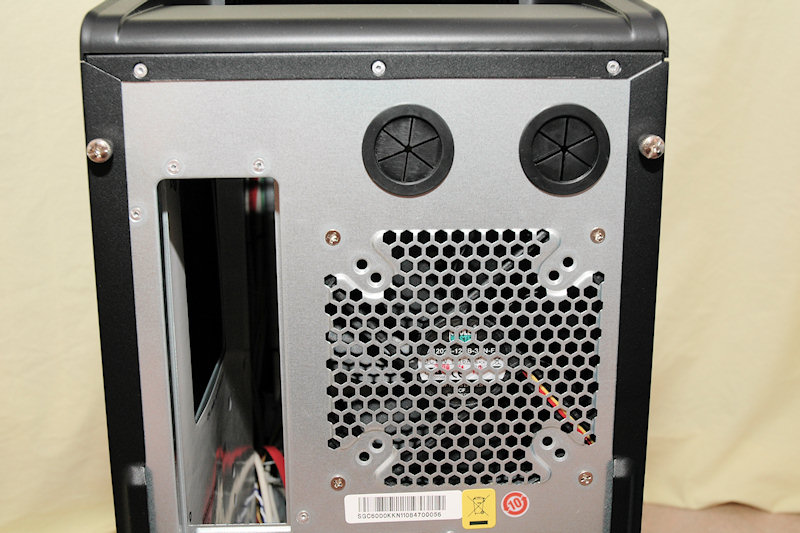
Let’s have a look at the back of the case and start with the top. Here we find the usual IO plate space, two water cooling hose holes and a honeycomb fan guard in which you can install 120mm, 90mm and 80mm fans. There is already a 120mm fan installed.
Looking down at the back of the case shows us the add-on bays, power supply spot and also a new feature.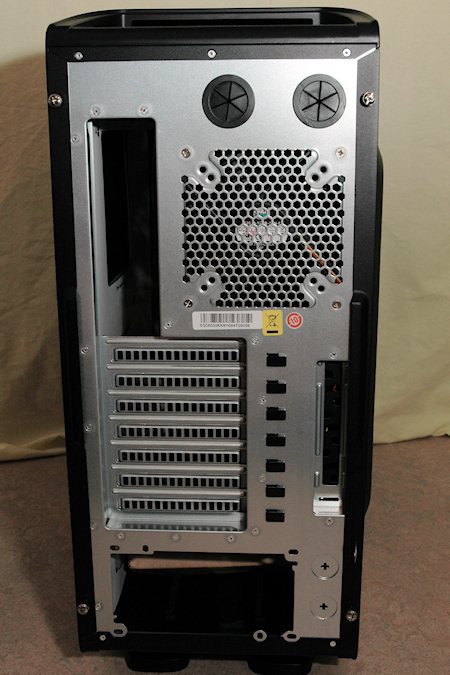
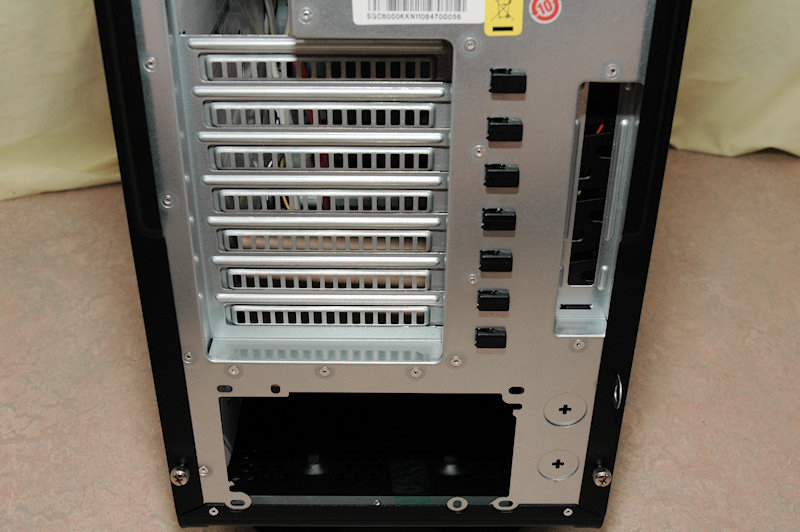
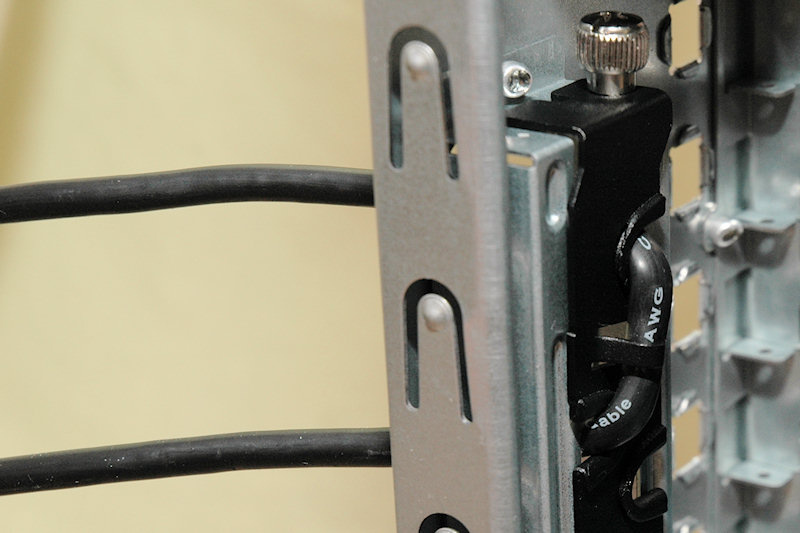
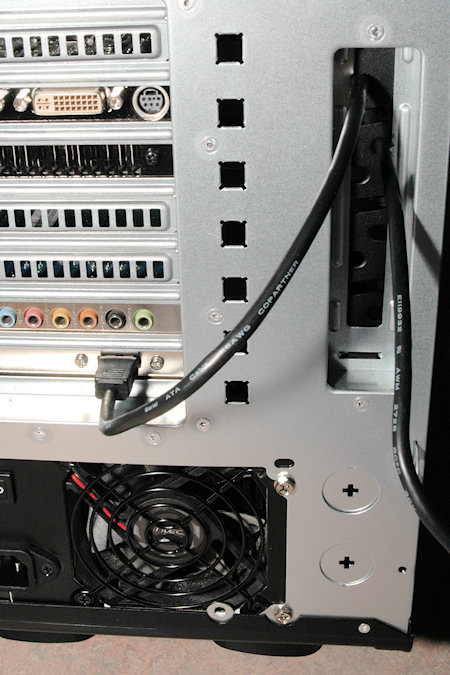
This has been implemented as this case is aimed to gamers. When you’re going away to LAN parties, or this can also work at offices where a lot of people walk around near the computers, you’re always in the risk zone of loosing your mouse and / or your keyboard.
Even your monitor or anything else that you’ve connected to your computer.
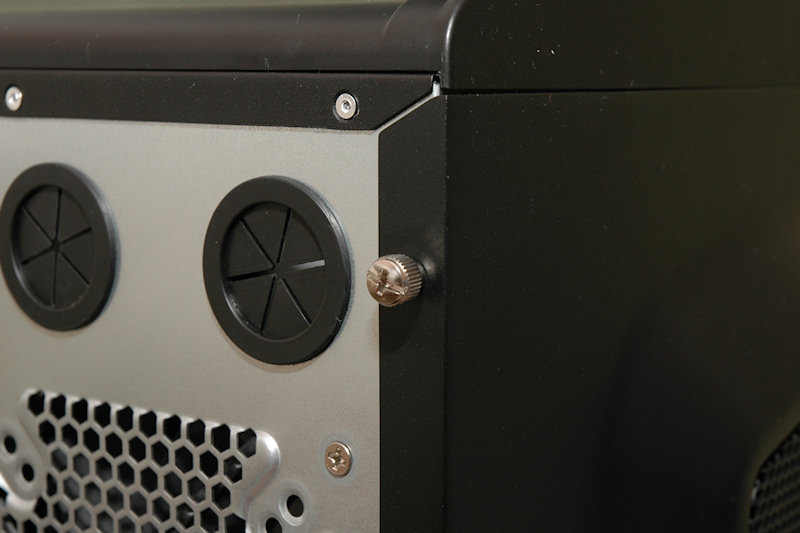
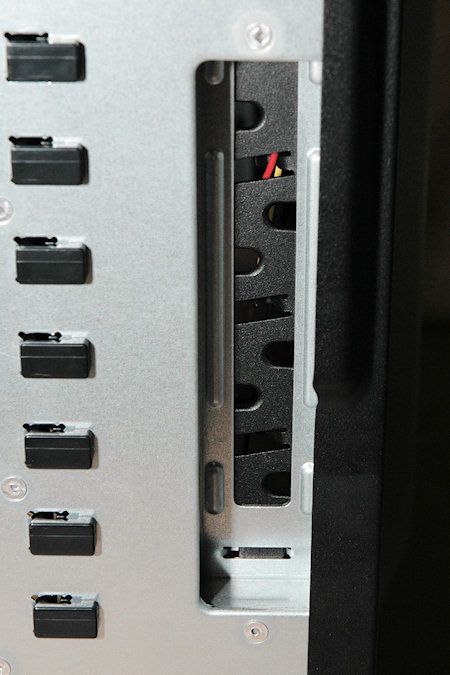
All these, or at least three medium thick cables can be secured by routing them through the metal piece on the right of the case and securing them from being taken without access to the inside of your computer.
This however is no use if you only have thumbscrews installed. Sure, change the screws to normal ones or even torx and that might slow them down. But you should install a lock for the side panel, that should slow the thieves down a bit ;)
Now you’ve secured both the inside of your case and also some of the accessories. This “system” is called by Cooler Master the “Stormguard”. I do believe in this and will surely come to think of it if I go to a LAN party sometime.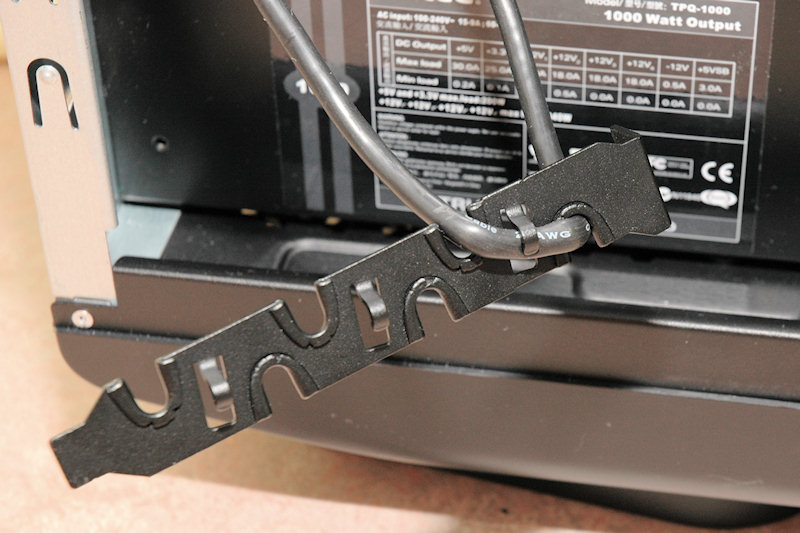
Continuing on the right side of the case we find a small logo that says “CM Storm”.
Just before we head inside the case, let’s flip it over to have a look at the underside of the case. Here we find a lot of cooling vents and also the feet’s of the case. All of the feet’s are fitted with rubber under them to reduce the vibration going into the floor.
These are also exchangeable to more simple ones that are included as well. 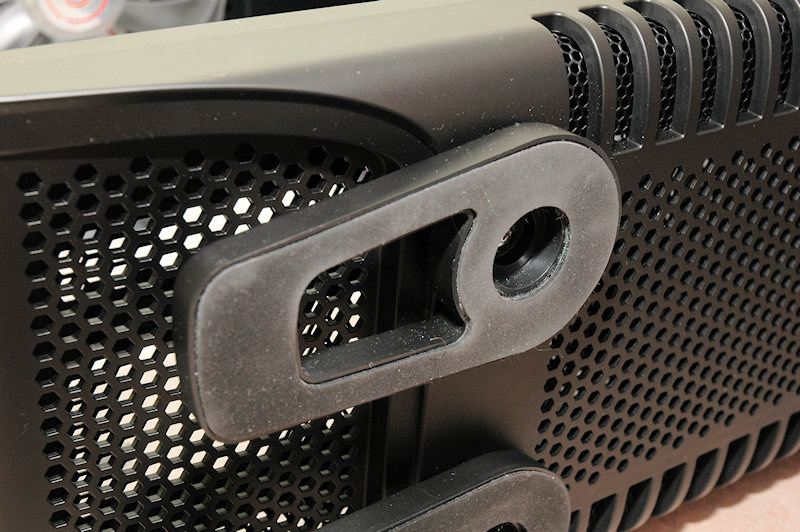

Next up is the inside, so head over to next page to have a look!

Christopher Fredriksson


![[H]ard|OCP, https://www.hardocp.com](https://swemod.com/uploaded/affiliates/hardocp.jpg)
![[M]adshrimps, https://www.madshrimps.be](https://swemod.com/uploaded/affiliates/madshrimps.jpg)