
Akasa Élite 2.5 inch drive enclosure
First off, the package. This has a stylish design with a window on the front so that you can see the product inside. You can almost see the leather through the window and when unpacked I must say that it do look a lot better than both on pictures on the net and through the plastic inside the package.
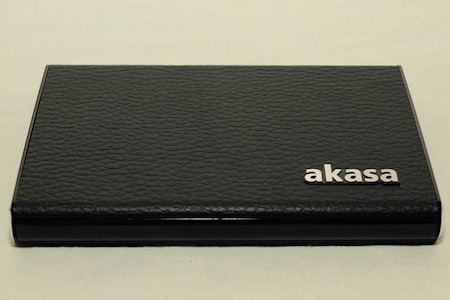
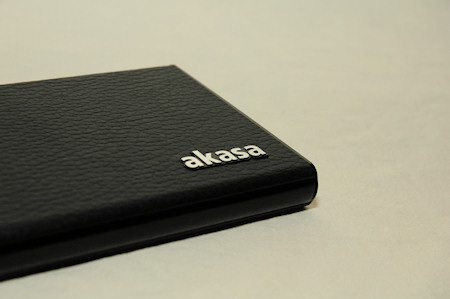
It really does look like leather when you have it in your hand and feels great to touch.
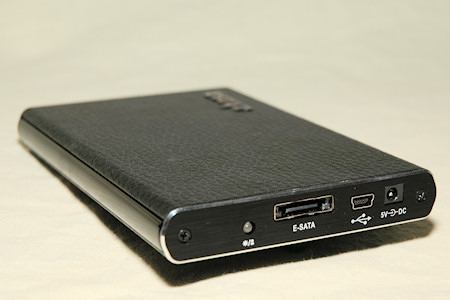
On the front of the package you get some hints on what you’re about to unpack. This product is made out of aluminium with a leather cover. It accepts 2.5 inch SATA drives, SSD as well and you can connect the disk drive both via USB2.0 and eSATA, obviously not at the same time though ;)
This means that with USB2.0 you get 480Mbit / second and with eSATA around 3.0Gbit / second. If you have the eSATA connector available on your computer case or via an add-on bracket it should be the number one choice.
Inside the package you find three cables, one eSata -> eSata, one USB(A)+USB(A) -> Powerplug and one USB(A)+USB(A) to USB(mini-B).
The first one is nothing special, just a normal SATA data cable. Second one is to power up the enclosure when you’re using the SATA cable. The last cable is the one to use if you want to connect your enclosure via USB to your computer.
Both the manual and my personal experience from before says that you don’t have to use both the USB(A) connectors to get enough juice for the disk drive, sometimes it’s enough with just one, but that depends on your motherboard or the USB hub that you connect the enclosure to.
Next thing to find in the package is a small screwdriver that you can use to open up the enclosure. Very nice and also, this is everything you need to install the enclosure and start using it within minutes.
There is also a manual that is printed on a few different languages and which is very colourful and helpful.
However I miss an eSATA bracket, but I guess Akasa decided that everyone either has a bracket already or maybe their computer case already has a port to use?
Anyhow, that’s no problem for me as I’m lucky to have both.
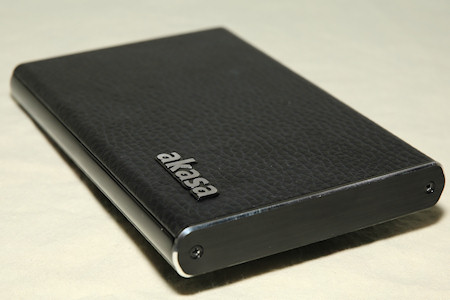
Final thing in the package is the enclosure itself. As you can see, the product is not covered fully with leather, it has some aluminium details as well. This is good both for heat transfer as well as that it gives stability to the product, oh and last time I checked it was quite hard to get screws to fasten in leather, so I guess aluminium will be all right ;)
On next page we’ll take a look at the installation procedure.

Christopher Fredriksson




![[H]ard|OCP, https://www.hardocp.com](https://swemod.com/uploaded/affiliates/hardocp.jpg)
![[M]adshrimps, https://www.madshrimps.be](https://swemod.com/uploaded/affiliates/madshrimps.jpg)
